
Choose and Measure a Sliding Garage Door Screen
Compare sliding garage door screen types, measure the finished opening, and verify thresholds, hardware clearances and usable drive-through width.
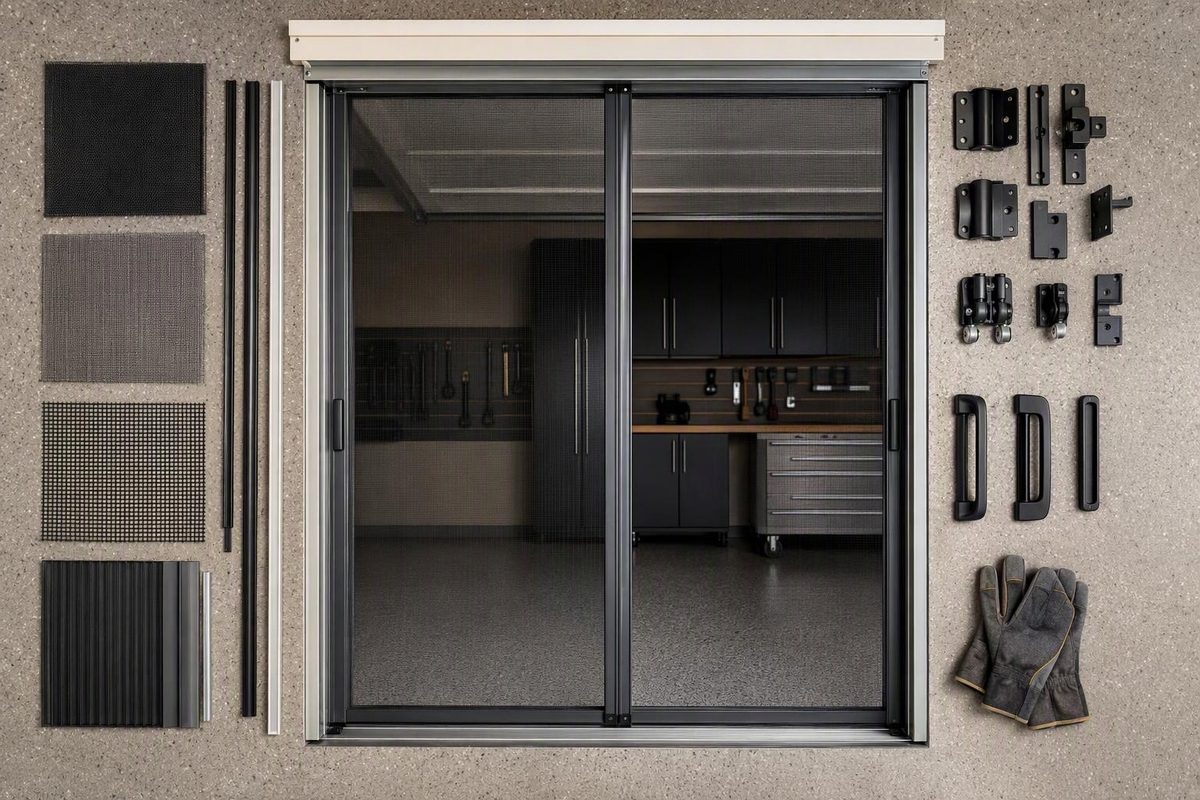
Choose a rigid multi-panel sliding garage door screen when you want framed panels, a defined walk-through opening and the ability to stack the screen toward one or both jambs. Choose a flexible curtain on a sliding track when seasonal removal matters more than rigidity and a finished frame.
Do not order either type by the advertised garage-door size alone. Measure the finished opening, mounting surfaces, floor and nearby garage-door hardware, then apply only the ordering rules supplied for the exact screen model.
Select your priorities and installation status; the tool identifies the best starting format and any reason to hold the order.
Screen Format Check
They match a preference for framed panels and a defined walk-through opening. Verify the stacked-panel width, complete threshold profile and exact model clearances before ordering.
Sources: PGT measuring guide, CWS Convertible product page, Lifestyle installation manual and CPSC operator guidance cited in the article. No universal ordering deduction or vehicle-traffic rating is assumed.
Sliding Screen Types Solve Different Problems
“Sliding garage door screen” can describe several different products:
| Screen type | How it operates | Main planning issue |
|---|---|---|
| Rigid bypass panels | Framed panels overlap on parallel tracks | Floor track and stacked panels reduce usable space |
| Flexible top-track curtain | Mesh sections slide sideways and gather near a jamb | Lower edge may not be captured, especially in wind |
| Side-retracting screen | Mesh pulls horizontally from a side cassette | Model must be approved for the full opening span |
| Vertical retractable screen | Mesh rolls into a housing above the opening | Not side-sliding; requires overhead clearance |
| Overhead framed screen | Counterbalanced frame travels on separate horizontal tracks | Adds tracks, springs and door-clearance checks |
Panel and track count affect the drive-through opening. A four-panel system that nests across four tracks can expose more of the opening than a two-panel bypass system. For example, a 2006 PGT guide documents up to a 75% clear opening for its four-track garage screen. That figure illustrates one arrangement; it is not a specification for every slider (PGT measuring and installation guide).
Ask the seller for the net clear opening with every panel stacked, not only the overall frame size. Also confirm which side receives the stack and whether that position interferes with shelving, controls or an entry door.
Measure the Opening and Mounting Area Separately
First determine whether the screen will be mounted inside the opening or on the wall face around it. The required dimensions and ordering deductions will differ.
- Measure finished width at the top, middle and bottom. Record all three results rather than averaging them.
- Measure finished height at the left, center and right. Measure from the intended sill or track position to the finished header.
- Compare both diagonals. A difference indicates that the opening is out of square. Do not assume the screen frame will correct it.
- Measure the mounting surface. Record the flat, solid area available on both jambs and across the header. Note trim, stucco returns, weather seals and projecting fasteners.
- Check the floor. Use a straightedge to find crowns, dips, cracks and the slab-to-driveway transition that a tape measurement may miss.
- Confirm track depth. A multi-track system needs enough front-to-back mounting space for the complete track assembly.
- Map nearby obstructions. Include garage-door tracks and brackets, photo eyes, lift cables, bottom fixtures, handles, locks, the opener arm, outlets, cabinets and swinging entry doors.
Keep a field sketch showing where each measurement was taken. The smallest width or height may control the fit, but the manufacturer’s instructions determine how those measurements become an order size.
Use the exact manufacturer’s order sheet to calculate the unit size. Do not make a generic deduction. The older PGT guide, for example, says to use the smallest measurements and then deduct for its specified mounting liner and sill. Those instructions belong to that system alone (PGT guide).
If the garage opening is still being planned, keep its finished dimensions separate from the door’s nominal size. Our garage-door measurement guide covers the other clearance measurements required by a sectional door.
The Threshold Determines Whether the Opening Remains Practical
A rigid slider’s lower track is where people walk and where bicycles, tools or vehicles may cross. Before ordering, confirm:
- the complete sill or threshold height and width;
- whether the exact model permits vehicle traffic over it;
- its approved concrete anchors and substrate requirements;
- whether fasteners or track joints will lie in a tire path;
- how water and grit leave the track; and
- whether the floor slope allows the panels to remain plumb.
Do not interpret “heavy duty” as automatic permission to drive over a track. CWS, for example, advertises a heavy-duty threshold and one-inch roller for its Convertible slider, as well as additional legs intended to support vehicle loads. Those are features of that named system, not sliding screens generally (CWS Convertible slider). Obtain the installation drawing and load or traffic guidance for the model being quoted.
A raised track is also a trip edge and a place for debris to collect. If wheelchair access, rolling tool chests or frequent vehicle movement matters, compare the actual profile with a retractable or removable system. Do not rely on a product photograph to determine the threshold height or shape.
The Screen Must Clear the Door and Opener
Before installation, move the existing garage door through a complete cycle from a safe position and map the swept path of its panels, rollers, hinges and opener arm. The proposed screen frame, latches and stacked panels must remain outside that path.
The correct operating sequence depends on the screen design, so follow its manual. At minimum:
- keep the screen fully open before moving a vehicle through it;
- never move either closure if it can contact the other;
- do not relocate photo eyes or defeat an obstruction sensor to gain clearance; and
- do not drill into, loosen or remove garage-door tracks, bottom brackets, cables or spring hardware.
Compatibility rules are model-specific. Lifestyle’s overhead framed-screen manual, for example, excludes low-headroom garage-door installations and calls for checks around cabinets, entry doors, tracks and the opener arm. It also warns not to operate the garage door while its screen is in the closed vertical position (Lifestyle installation manual). Those instructions do not govern an unrelated side slider, but they show why the exact screen and door manuals must be checked together.
Automatic residential garage-door operators are covered by the federal safety standard in 16 CFR Part 1211 (CPSC automatic-operator FAQ). CPSC advises testing an opener’s reversing feature according to its manufacturer’s instructions; installing a screen is not a reason to bypass safety equipment (CPSC garage-opener safety guidance).
Stop and use a qualified garage-door technician if fitting the screen would require moving door tracks, changing spring tension, disturbing lift cables or removing bottom fixtures. These are parts of the door system, not screen-frame adjustments.
Mesh Choice Changes Airflow, Shade and Durability
No mesh simultaneously maximizes airflow, visibility, shade, small-insect exclusion and resistance to contact. Phifer explains that open, fine-yarn products favor airflow and visibility, while denser or heavier pet, solar and tiny-insect meshes sacrifice some openness for another benefit (Phifer mesh-selection guidance).
Choose according to the primary need:
- Insect exclusion: Tiny-insect mesh is more tightly woven than standard insect screen.
- Airflow and view: More-open mesh generally performs better here.
- Shade: Solar mesh reduces incoming sun but also reduces visibility and airflow.
- Contact resistance: Heavier mesh may tolerate more incidental contact, but ordinary screening is not a guardrail or security barrier.
Do not rely on a garage screen to contain children or animals. One screen manufacturer expressly states that its product is intended to exclude insects and leaves, not provide containment (Garage Door Screens installation instructions).
The Quote Must Define the Finished Installation
The quote or order confirmation should state:
- inside or face mount;
- manufactured frame width and height;
- panel and track count;
- stacking side and net clear opening;
- threshold dimensions and any vehicle-traffic rating;
- exact mesh specification;
- latch, pull and kick-plate locations;
- replacement-mesh and roller availability;
- required fasteners and approved substrate; and
- garage-door and opener clearances.
If the seller cannot provide a current dimensioned drawing or installation manual for the exact model, hold the order. A nominal “16 × 7” label does not establish the screen’s manufactured dimensions, mounting deductions, threshold profile or usable drive-through width.