
Choose the Easiest Garage Floor for Your Project
Compare garage floor tiles, rollout mats, peel-and-stick vinyl and coatings, then choose a DIY system based on coverage, slab condition and finish.
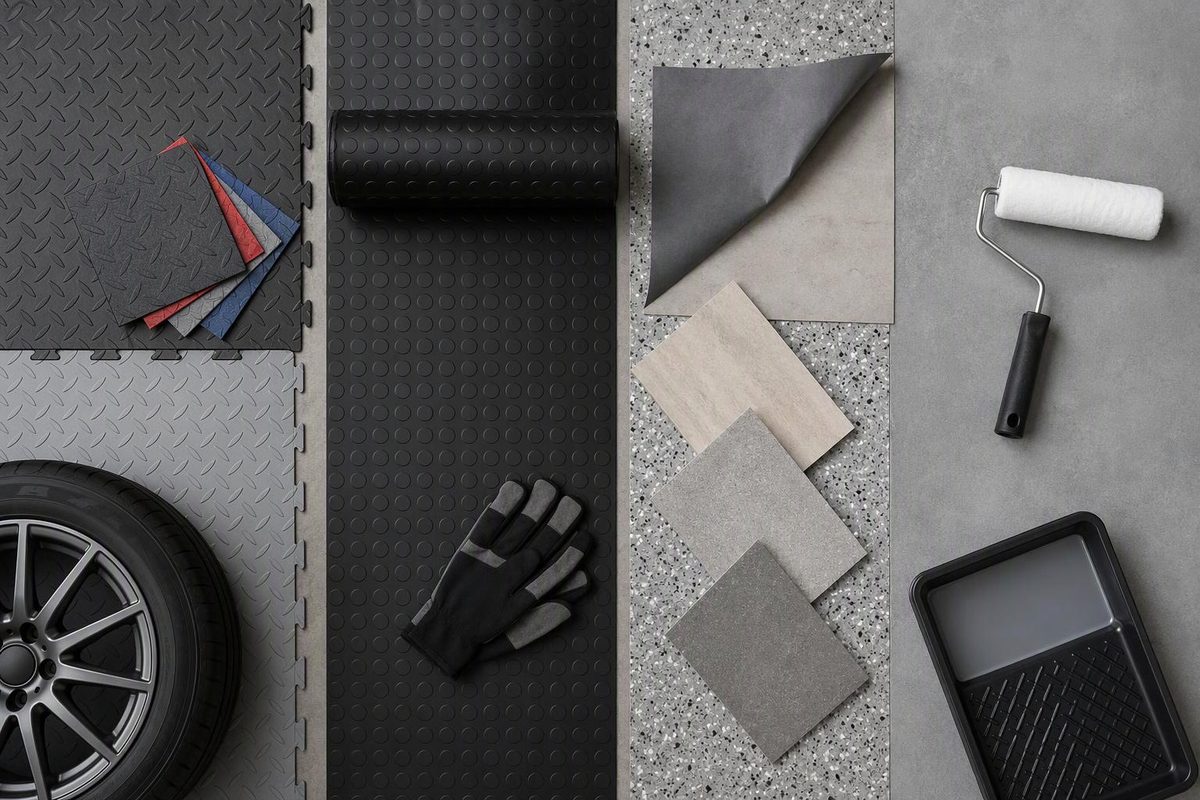
For an easy whole-garage flooring installation, choose interlocking garage-rated tiles: they require no adhesive, slab profiling or cure time, and a damaged module can generally be replaced without removing the entire floor. For one parking space, a rollout mat takes less work. A coating provides a seamless finish but requires substantially more preparation.
Select your coverage, finish and slab condition to identify the simplest suitable system.
Interlocking Garage Tiles
For a full floor with minimum installation work, use garage-rated interlocking tiles. Confirm expansion gaps, door clearance and load limits for the exact product.
Decision basis: the TrafficMaster, G-Floor, RaceDeck, DASMA and EpoxyShield instructions cited in the article. Product requirements vary.
Interlocking Tiles Are Easiest for a Full Garage
| Flooring type | Installation work | Main complication | Best fit |
|---|---|---|---|
| Rollout parking mat | Unroll, relax and trim | Movement, wrinkles and exposed edges | One parking bay |
| Interlocking rigid tiles | Snap together and cut perimeter pieces | Layout, expansion gaps and transitions | A finished full-garage floor |
| Peel-and-stick tile | Prepare, lay out, stick and roll every tile | Moisture and bond failure | Only when expressly approved for garages |
| Paint or two-part coating | Clean, repair, test, profile, mix and roll | Slab condition, working time and cure | A bonded, seamless finish |
Do not buy ordinary peel-and-stick vinyl based on the installation method alone. One TrafficMaster self-stick tile manual expressly prohibits installation in garages or damp areas. It also requires a flat, clean, moisture-free substrate and rolling after installation (TrafficMaster installation instructions).
That restriction applies to the product covered by those instructions, not every adhesive tile. Check the documentation for the exact product you are considering, including garage use, vehicle traffic, tire contact and slab-moisture limits.
A Rollout Mat Requires the Least Work for One Bay
A loose-laid vinyl parking mat is the shortest project when it covers only the vehicle path:
- Empty and sweep the parking area.
- Fill large holes or sharp defects that could show through the mat.
- Unroll the mat in the vehicle path and allow it to relax.
- Leave the manufacturer’s required clearance around walls, posts and fixed objects.
- Fit an approved tapered edge if an exposed edge creates a trip point.
Better Life Technology defines its no-adhesive G-Floor installation as a parking-pad application. Its instructions require at least 1 inch between a floating mat and walls or heavy objects and recommend adhesive for wall-to-wall installations (G-Floor installation instructions). Those dimensions apply to that product; follow the instructions supplied with the mat you buy.
Do not overlap rolls. G-Floor’s instructions warn that overlaps create a trip hazard, trap moisture and may cause buckling. Use the compatible seam treatment instead, and preserve access to any floor drain.
Several rolls across an entire garage introduce seams, expansion details and potentially adhesive. At that point, a mat loses much of its installation advantage over interlocking tiles.
Install Interlocking Tiles Without Pinning the Floor
Inspect the Slab Before Covering It
Floating tiles can conceal stains and minor cosmetic defects, but they do not repair concrete. Stop before covering growing cracks, vertical displacement, rocking sections, active water entry or widespread spalling. Use the checks in Garage Floor Cracking: The Signs That Change What to Do when movement is questionable.
Sweep and vacuum thoroughly. Grit can create high spots and interfere with tile locks. Confirm that the exact tile is approved for your vehicles, chemicals, temperature range and intended equipment.
For jacks, stands, lifts and loaded rolling cabinets, verify both rolling-load and concentrated-load limits rather than relying on a general vehicle rating.
Measure the Usable Floor and Door Clearances
Record the usable dimensions along with:
- wall jogs, stairs, posts and drains;
- slab-anchored cabinets and equipment;
- the closed overhead door’s interior line;
- clearance beneath service doors and door sweeps; and
- available height at the vehicle threshold.
Keep tiles and entrance ramps inside the closed overhead door. Do not remove, cut or reposition tracks, brackets, cables or other door hardware to make the flooring fit.
DASMA warns consumers not to repair or adjust door parts, brackets, cables or mounting surfaces because spring-connected components can involve hazardous stored energy (DASMA consumer checklist). Change the flooring layout or have a trained door technician assess the conflict.
Dry-Lay Enough Tiles to Check the Perimeter
Follow the selected manufacturer’s orientation and acclimation instructions. RaceDeck’s system, as one example, starts at a garage-door corner, forms an L along the opening and side wall, and keeps connector loops facing the installation direction (RaceDeck installation guide).
Lay enough full tiles to predict the cut width at the opposite walls. Shift the grid before locking the field if the layout would leave narrow perimeter strips. Set any color pattern at this stage.
Preserve the Manufacturer’s Expansion Gap
Do not trap a floating floor against walls, posts, cabinets or other fixed objects. The gap is product-specific: RaceDeck specifies 1/4 to 1/2 inch and recommends 1/2 inch in its installation tips (RaceDeck expansion guidance). Do not apply that measurement to another brand without checking its instructions.
Cut around slab-anchored cabinets rather than pinning tiles beneath them. Trim may conceal the gap, but it must not clamp the floor.
Cut the Perimeter and Fit the Entrance Ramps
Install full modules first, then measure perimeter pieces individually because walls may not be square. Use the cutting tool and blade specified by the manufacturer, together with eye and hearing protection.
Fit compatible ramp edges at exposed entrances. Close the overhead door and operate service doors by hand to confirm clearance before returning vehicles or cabinets.
Coatings Trade Easy Installation for a Seamless Finish
Rolling is only the last part of a coating project. The slab must first be suitable for bonding.
Rust-Oleum’s water-based EpoxyShield instructions require sound concrete without a moisture problem, removal of oil and incompatible sealers, repair of damaged areas, etching, thorough rinsing and complete drying. After mixing, the product has a temperature-dependent working life of one to two hours. Under its stated conditions, vehicle traffic must wait three days (EpoxyShield technical data).
Its safety data classifies components for skin sensitization and serious eye damage and calls for protective gloves, protective clothing, eye protection and adequate ventilation (EpoxyShield safety data). Other coatings have different requirements.
Choose a coating for the bonded, seamless finish, not because the package describes a simple rolling step. Start with the slab checks in Epoxy Flooring Installation: A Garage Floor Plan That Starts With the Slab.
Five Conditions Must Be Settled Before Purchase
- The exact product permits garage and vehicle use. “Vinyl tile” or “easy install” is not enough.
- The slab is stable and dry enough for the system. Flooring does not correct heaving, active movement or water entry.
- Finished thickness fits every door and threshold. Include ramps and transitions.
- Drainage still works. Plan how water will reach drains and how a covered slab can dry.
- Documented load limits match the work. Check vehicles, jacks, stands, lifts and loaded cabinets separately.
If those conditions are met, a loose parking mat is generally the simplest limited-area solution. For a finished wall-to-wall floor without coating preparation or cure time, interlocking garage-rated tiles are the more forgiving DIY choice.