
Epoxy Flooring Installation: Prep, Test, Mix and Coat
Plan a garage epoxy floor from slab inspection through curing, with stop points for moisture, weak concrete, unsafe grinding and failed coatings.
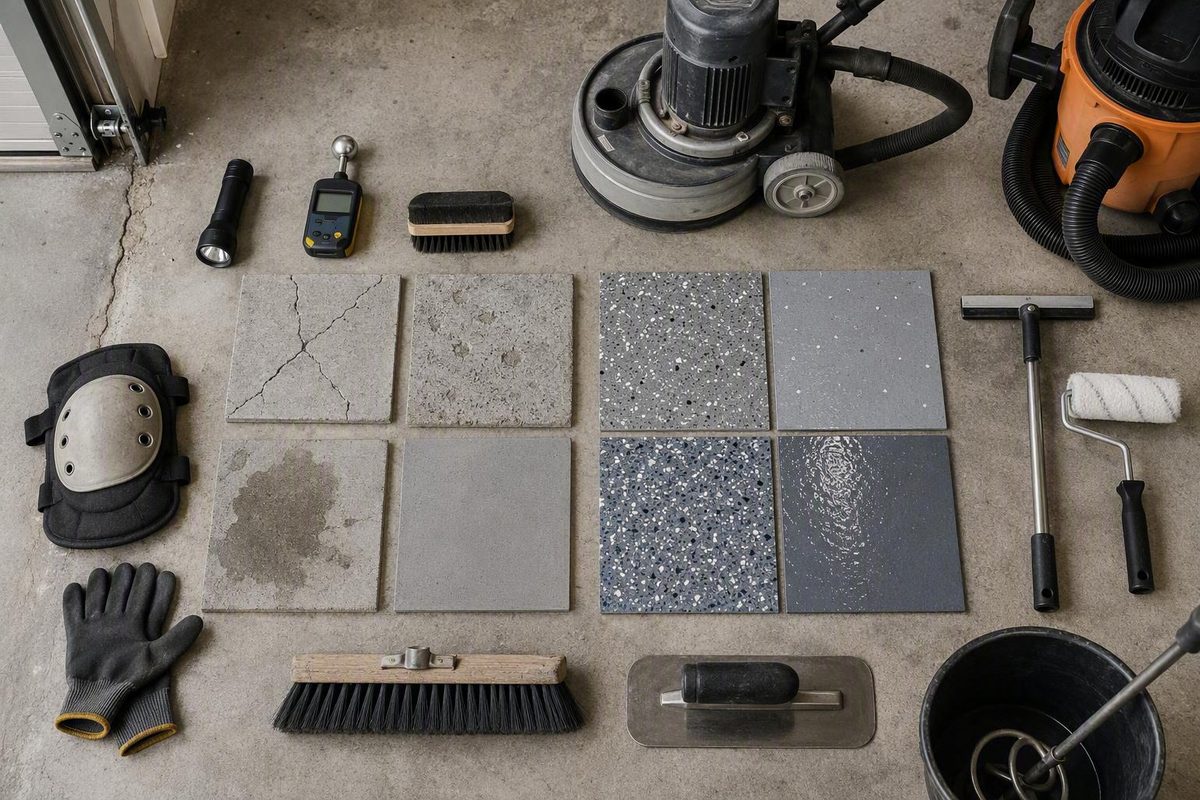
A garage epoxy floor is not installed successfully by starting with the roller. The real sequence is inspect, test, clean, profile, repair, verify, mix, coat and cure. Surface preparation affects both immediate and long-term performance, according to Sherwin-Williams’ concrete-preparation guide.
The instructions below are a planning framework, not a substitute for the current label, technical data sheet (TDS) and safety data sheet (SDS) for the exact primer, epoxy and topcoat you buy. Those documents control the required surface profile, moisture limit, mixing ratio, working time, coverage and recoat window.
1. Define the floor system before preparing the slab
“Epoxy floor” can describe anything from a one-coat water-based garage kit to a primer, pigmented build coat, full flake broadcast and clear topcoat. Do not combine the preparation method from one brand with the cure schedule from another.
Before buying material, record:
- Floor area, including stem walls or curbs you intend to coat
- Existing paint, sealer or coating
- Oil, tire dressing, silicone or other contamination
- Cracks, spalls and moving joints
- Damp areas, efflorescence or past water intrusion
- Desired texture, color flakes and gloss
- Expected vehicle, chemical and sunlight exposure
Use the manufacturer’s stated coverage at the required film thickness—not the garage’s “one-car” or “two-car” label—to size the order. Rough or porous concrete consumes more material, and a partially mixed second kit may not preserve the stated component ratio.
2. Stop if the slab is not a sound coating substrate
Coating should wait if the floor has loose or spalling concrete, an active leak, persistent dampness, major vertical crack displacement or movement that has not been diagnosed. A resin film cannot stabilize a failing slab. Use the checks in Garage Floor Cracking: The Signs That Change What to Do before treating every crack as a cosmetic groove.
For an existing coating, remove peeling material and test firmly bonded areas as directed by the new product manufacturer. For a bare slab, place a few drops of water in several locations. Beading can indicate a sealer or contamination that must be removed; immediate absorption alone does not prove that the slab is dry enough.
A taped plastic sheet is only a screening test. Sherwin-Williams describes ASTM D4263 as qualitative: it can show moisture movement but cannot quantify it, so it is useful for deciding whether more testing is required—not for certifying every slab as coat-ready (Sherwin-Williams). If plastic darkens the concrete or collects droplets, stop and investigate the moisture source and the flooring system’s test requirements.
3. Degrease before grinding
Remove everything from the garage and protect walls, the door track, weather seals and adjoining surfaces. Degrease oil and other contaminants before mechanical preparation; grinding first can spread contamination into a larger area.
Scrub, extract the dirty solution and repeat until water no longer separates around the spot. Do not assume a stain is harmless because the surface feels dry. The preparation goal is sound, clean concrete without oil, grease, wax, sealer, curing compound, laitance or other bond-inhibiting material (Sherwin-Williams).
Allow water introduced during cleaning to leave the slab before coating. The product instructions may require a specific drying period or moisture reading.
4. Create the profile specified for the product
A clean floor may still be too smooth. The coating needs the concrete surface profile, or CSP, named in its TDS. ICRI’s profiles run from CSP 1, minimal roughness, to CSP 10, very rough; the appropriate range depends on the material, substrate and site conditions (ICRI). A thin garage-floor coating commonly needs a different profile from a thick mortar or overlay.
Possible methods include diamond grinding, shot blasting or—in some consumer kits—manufacturer-specified chemical etching. Use only a method that can remove the existing sealer or coating and produce the required profile. After mechanical preparation, edge-grind where the main machine could not reach and vacuum the slab thoroughly.
Grinding stop point: Concrete grinding can generate respirable crystalline silica. OSHA’s construction table specifies manufacturer-recommended dust collection for walk-behind floor grinders and HEPA-vacuum cleanup between passes indoors (OSHA). A household shop vacuum and an improvised dust mask are not a dust-control plan. If you cannot obtain and operate the appropriate grinder, shroud, extractor and protective equipment, hire the preparation out.
5. Repair defects without erasing necessary movement
Vacuum cracks and repair nonmoving defects with a material approved beneath the selected flooring system. Observe the patch product’s depth limits, mixing instructions and cure time. Grind high repairs flush after curing.
Do not automatically fill every saw cut or expansion/isolation joint with rigid epoxy. Joint treatment depends on what the joint is designed to do and on the coating system’s detail. Preserve moving joints or use the specified flexible detail. If a crack is widening, displaced, wet or accompanied by rocking concrete, investigate it before coating.
After repairs, check the entire floor under low-angle light. Remove ridges, dust and loose aggregate. The final surface should match the specified CSP without glossy islands, tire residue or powder on your hand.
6. Stage the installation before mixing
Once resin and hardener meet, the clock starts. Set out the correct rollers, squeegee, brushes, mixing paddle, calibrated containers if needed, spiked shoes where the system permits them, flakes and cleanup materials first. Plan an exit path that does not trap you behind wet coating.
Read the SDS for every component. For one current garage-floor kit, the activator SDS classifies the material as a skin irritant and sensitizer and calls for protective gloves, protective clothing, and eye and face protection; it also calls for cross-ventilation (Rust-Oleum SDS). Select glove material and any respiratory protection from the actual SDS rather than assuming all “low odor” products have the same controls.
Also confirm:
- Air, slab and material temperatures
- Relative humidity
- Slab temperature versus dew point
- Primer requirement
- Mix ratio and mixing time
- Induction time, if any
- Pot life at the expected temperature
- Minimum and maximum recoat times
- Foot-traffic and vehicle-traffic cure times
These values are product-specific. For example, Rust-Oleum’s cited water-based kit requires air, material and surface temperatures of 60–85°F, a surface at least 5°F above dew point and relative humidity no higher than 85%; its stated pot life shortens as temperature rises (Rust-Oleum TDS). Treat those as instructions for that product, not universal epoxy numbers.
7. Mix complete batches and maintain a wet edge
Premix components separately when instructed. Combine them at the exact ratio and mix for the specified time, scraping the container sides and bottom if the instructions require it. Do not add solvent or water unless the TDS expressly permits thinning.
Cut in only as far ahead as the main application can catch. Pour and distribute the coating using the specified tool and film thickness, then back-roll in a consistent direction. Work in manageable sections while maintaining a wet edge. Broadcast decorative flakes upward so they fall more evenly rather than throwing them directly at the floor.
If the mixed material thickens, becomes unusually warm or stops leveling, its working time may be ending. Do not try to revive it with thinner or spread it beyond the rated coverage.
A glossy coating can be slippery when wet. If the garage will see snow, rain or wash water, choose a compatible traction additive or textured topcoat during system design; the Rust-Oleum kit instructions likewise warn that coated concrete can become slippery when wet (Rust-Oleum TDS).
8. Respect the recoat and vehicle-cure windows
Keep the garage within the specified temperature and humidity range while the coating cures. Prevent leaves, insects, dust and water from reaching the finish, but maintain ventilation as directed by the SDS.
Apply another coat only inside the stated recoat window. If that window is missed, the manufacturer may require sanding or other preparation before recoating. Keep tires, kickstands, jacks, cabinets and stored items off the floor until their respective cure times have elapsed. One cited consumer system permits light foot traffic in 12–16 hours but requires three days before vehicle traffic under its stated reference conditions; cooler conditions take longer (Rust-Oleum TDS). Your product may differ.
After cure, follow coating-compatible cleaning practices rather than reaching immediately for strong solvent or abrasive cleaner. See How to Clean Epoxy Floor Coating Without Dulling It. If you are comparing professional bids instead of doing the work, require each contractor to name the preparation method, moisture test, product layers, film thickness and cure schedule; 15 Checks Before Hiring Garage Flooring Pros provides a bid checklist.