
2-Part Epoxy Paint Is a System, Not Just Tougher Floor Paint
Choose and plan 2-part epoxy paint by checking the slab, preparation, coverage, pot life, cure schedule and component safety data.
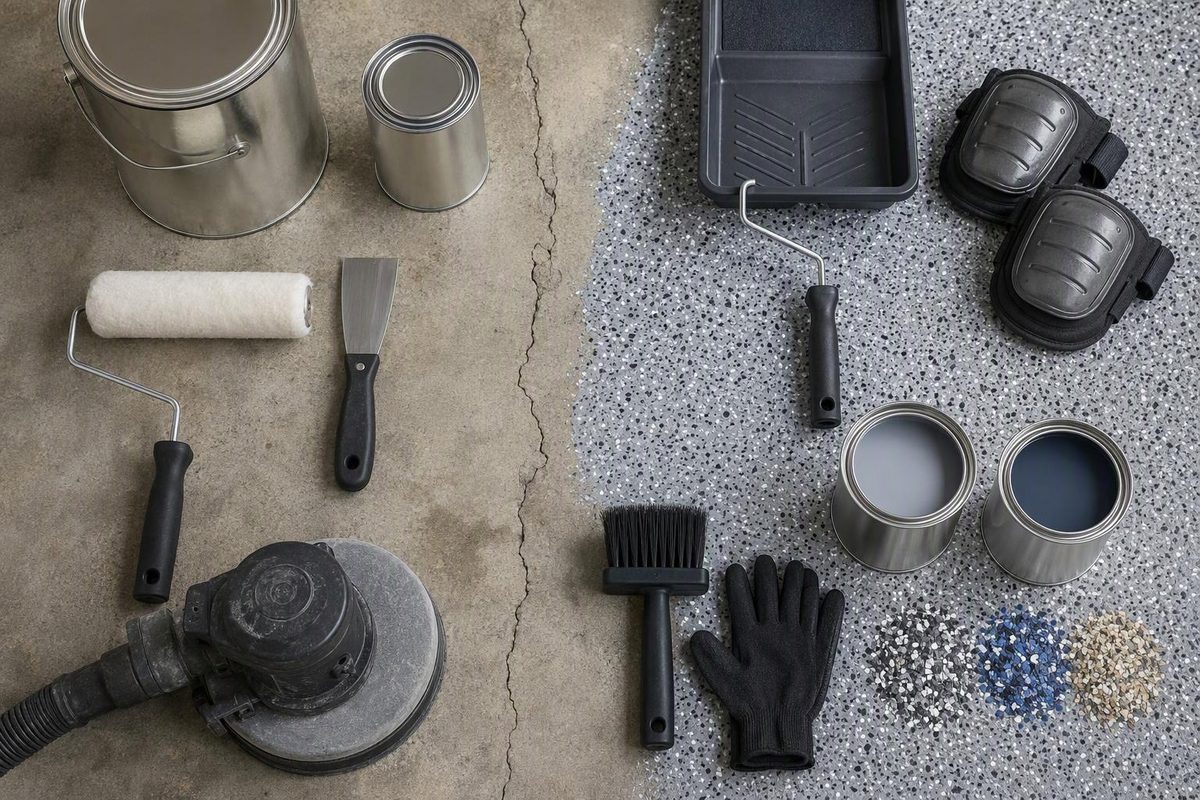
Two-part epoxy paint has separate resin and hardener components. Mixing them starts a chemical reaction that forms the cured coating—and starts a limited working time. That differs from a one-part floor paint, which is supplied ready to use.
For a garage floor, a 2-part product can provide a hard, chemically resistant finish. But “2-part epoxy” alone does not tell you its film thickness, moisture tolerance, UV stability, surface-preparation requirements or safe working time. Those details determine whether a kit fits your slab and schedule.
Two-part epoxy versus one-part “epoxy” paint
Check the package rather than relying on the product name:
- Two-part epoxy: Separate Part A and Part B containers or compartments. The components must be combined in the specified ratio.
- One-part epoxy paint: One ready-to-use container with no separate hardener.
Both are sold for garage floors. Behr, for example, describes its one-part product as a water-based, no-mix formula, while Rust-Oleum’s two-part garage coating contains a base and activator (Behr product information; Rust-Oleum technical data sheet). They are not interchangeable simply because both labels use “epoxy.”
A true 2-part coating is also not automatically suitable for every floor. Moisture, weak concrete, contamination or a failing existing coating can undermine the entire system.
Read these specifications before choosing a kit
Find the current product data sheet and safety data sheet for the exact SKU. Check:
- Approved substrate and use. Confirm that it is intended for concrete garage floors and vehicle traffic.
- Required preparation. A consumer kit may specify cleaning and etching. A professional system may require mechanical preparation to a defined concrete surface profile.
- Moisture limit and test method. A taped plastic sheet can indicate capillary moisture, but it does not produce a universal pass/fail number for every coating. ASTM describes this method as an indication of moisture before coating (ASTM D4263-24). Some systems specify quantitative testing and their own acceptance limits.
- Solids and film thickness. These help show how much coating remains after cure and how thick the applied coat should be. Container size alone is not a useful comparison.
- Coverage at the specified thickness. Porous or heavily profiled concrete may reduce practical coverage.
- Mix ratio, induction time and pot life. Induction is a waiting period required after mixing by some products. Pot life is the usable period after the components meet.
- Temperature, humidity and dew-point limits. Check the slab temperature as well as the air.
- Recoat and traffic times. “Dry to touch” does not mean ready for tires.
- UV and slip performance. Some epoxies discolor in sunlight, and a smooth coated floor can become slippery when wet.
Working times vary sharply. One Rust-Oleum water-based garage kit lists a temperature-dependent pot life of one to two hours and allows vehicle traffic after three days. Sikafloor-264, a professional high-build product, lists about 25 minutes of pot life and a seven-day full cure at 68°F (Rust-Oleum technical data; Sikafloor-264 product data). Use only the figures for the product in hand.
Stop if the slab fails these checks
Inspect the empty floor under good light and mark each defect.
Unresolved moisture: Stop for visible dampness, recurring efflorescence, water entering through joints, or darkening or droplets beneath a taped plastic sheet. A coating is not a substitute for correcting water entry. Some systems prohibit application over moisture-problem floors; others require measured results and a compatible mitigation system.
Unsound concrete: Spalling, scaling, loose surface paste or widespread powdering leaves the epoxy bonded to material that can detach. Repair the cause and restore a sound surface first.
Failing existing coating: A new coat is only as secure as the layer below it. One Rust-Oleum kit specifies a cut-and-tape adhesion check and complete removal when more than 25% of its test area releases. That threshold applies to that product, not to every epoxy; follow your selected coating’s test and acceptance criteria (Rust-Oleum instructions).
Persistent oil or sealer: Cleaning is not complete merely because the slab looks better. After following the prescribed cleaning method, check whether water absorbs as directed rather than beading over contamination or a sealer.
Cracks need classification too. A stable crack without displacement may accept a compatible repair material. A growing crack, vertical offset, water entry or rocking slab section needs diagnosis before it is hidden. Use the garage-floor cracking checks rather than treating every crack as cosmetic.
Estimate the quantity without stretching the coating
Divide the floor into rectangles and calculate each area:
length × width = square feet
Add the areas, then divide by the product’s practical coverage at its specified film thickness. Round up to whole kits.
A 22-by-22-foot floor is 484 square feet. At approximately 250 square feet per kit, it requires two kits on paper. Verify whether that rate is per kit or per gallon and whether the system also requires primer, a second coat or a clear topcoat. Porosity, surface profile, repairs, edges and application loss can change actual use.
Do not stretch the coating beyond its stated rate; that reduces film thickness. If multiple kits will make one continuous color coat, follow the manufacturer’s directions for blending base components to improve color uniformity. Activate only as much material as can be placed within pot life. Never alter the A:B ratio or split a kit unless the instructions allow partial batches and provide a reliable measuring method.
Complete preparation before mixing
Once the components meet, the clock is running. Finish the slab inspection and preparation sequence first, then:
- Confirm that repairs, cleaning and required profiling are complete.
- Remove dust without blowing it back into the garage.
- Measure air temperature, slab temperature and humidity; compare them with the data sheet.
- Protect adjoining surfaces and plan an exit that does not cross wet coating.
- Stage the specified mixer, rollers, squeegee, brushes, footwear and decorative media.
- Assign mixing, cutting-in, rolling and chip-broadcast tasks if working time is short.
- Premix components separately if directed. Combine the specified amounts and mix for the stated time, scraping the container where instructed.
- Observe any induction period, then apply at the stated rate while maintaining a wet edge.
- Stay within both the minimum and maximum recoat windows.
- Keep people, pets, storage and tires off the coating for the specified intervals.
Do not try to extend expired pot life with water or solvent. Sherwin-Williams warns that epoxy can still appear usable after pot life while delivering poor performance; its guide also identifies mix ratio, induction, temperature, humidity and condensation among common sources of coating defects (Sherwin-Williams Epoxy Coatings Guide).
Read the SDS for every component
The resin and hardener can have different hazards. The current SDS for one Rust-Oleum garage kit classifies its activator as a skin irritant, skin sensitizer and serious eye irritant; it specifies protective gloves, clothing and eye/face protection plus cross-ventilation (Rust-Oleum multi-component SDS). Select protective equipment from the SDS for the exact product rather than from generic epoxy advice.
Keep vapors from migrating into the house, especially from an attached garage. EPA recommends increasing ventilation and meeting or exceeding label precautions for products that emit VOCs (EPA indoor-air guidance). Solvent-based products may also impose ignition controls: one Rust-Oleum coating requires pilot lights and open flames in the area to remain extinguished during application and for at least 24 hours afterward (product data sheet). Do not transfer that interval to another coating; follow its label and SDS.
Buy the system only if its preparation, moisture limits, working time and cure schedule match the actual garage. The second component cannot compensate for an unsuitable slab or an installation window you cannot control.