
Program a LiftMaster Remote, Keypad or HomeLink Without Erasing Everything
Pair a LiftMaster remote, keypad or HomeLink system, handle MAX and 8500 exceptions, clear lost remotes, and diagnose failed programming.
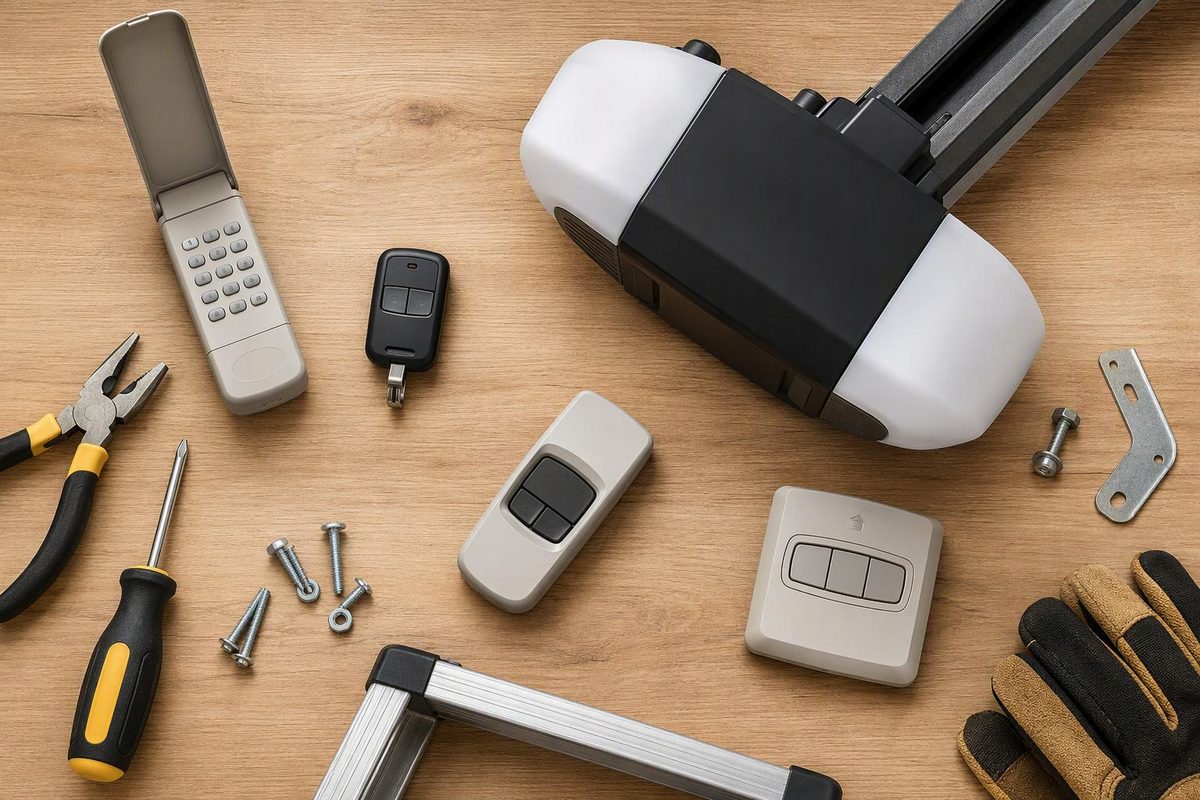
For most LiftMaster openers, programming a compatible handheld remote follows a short sequence: press and release the opener’s LEARN button, then hold the chosen remote button until the opener light flashes or the unit clicks.
The important distinction is what you are programming. A remote, wireless keypad, vehicle HomeLink system and myQ app do not all use the same process. Match the instructions below to the accessory and verify the opener and accessory model numbers when possible.
Before you press LEARN
- Close the garage door and clear people, vehicles and objects from its path.
- Use a stable stepladder if the motor unit is overhead; do not stand on a chair or vehicle.
- Find the opener’s model label and LEARN button. If the button is behind a light cover, open the cover without removing wiring or the opener housing.
- Check that the remote or keypad is compatible with the opener. A LiftMaster logo alone does not guarantee compatibility across generations.
Do not hold the LEARN button while adding one remote. Holding it for approximately six seconds erases paired remotes and keypads instead of adding a device, according to LiftMaster’s memory-erasing instructions.
Program a standard LiftMaster remote
This is the usual motor-unit method for a compatible remote that does not require its own setup sequence:
- Press and immediately release the LEARN button on the opener. The adjacent indicator should illuminate.
- Within 30 seconds, press and hold the button on the remote that you want to operate this door.
- Release the remote button when the opener’s lights flash or you hear two clicks.
- Step down from the ladder, move clear of the door and press the remote button once to test it.
These are LiftMaster’s standard remote-programming steps. A quick press enters pairing mode; a long press clears memory. If you accidentally erase the memory, every remote and keypad you still want must be paired again.
If the remote is an 890MAX, 893MAX or 895MAX
These universal-style remotes require an extra setup stage before pairing with the opener. LiftMaster’s MAX remote programming guide says to:
- Hold the remote’s program button until its LED turns on.
- Press and release the desired remote button the number of times specified for the opener type.
- Exit remote programming mode as directed for that remote.
- Press and release the opener’s LEARN button.
- Hold the newly programmed remote button until the opener lights flash or two clicks sound.
The required number of button presses depends on the opener type. Use the chart in the remote’s instructions rather than guessing from the remote’s appearance.
Program a LiftMaster wireless keypad
Keypad sequences vary, so check the keypad model printed inside its battery compartment or cover. On many LiftMaster combinations, the manufacturer’s keypad procedure is:
- Press and release the opener’s LEARN button.
- Within 30 seconds, enter the four-digit PIN you want on the keypad.
- Press and hold ENTER until the opener light flashes or the unit clicks.
- Wait briefly, then test the PIN from outside while the doorway remains clear.
A notable exception is the LiftMaster 8500. LiftMaster’s 877MAX documentation says an 877MAX paired to an 8500 is programmed through the 888LM or 889LM wall control—not through the yellow LEARN button on the operator. This is why the exact model matters.
If your wall control has a display or programming menu, the opener manual may direct you to select Program, then Remote or Keypad, instead of climbing to the motor unit.
Program HomeLink in a vehicle
Do not assume one HomeLink sequence fits every car. Programming varies by vehicle manufacturer, model year and HomeLink version. Chamberlain Group’s HomeLink guide begins with a working handheld remote and directs owners to park outside the garage with the doorway clear.
Use the vehicle manual or HomeLink’s vehicle-specific instructions alongside LiftMaster’s guide. Some systems first learn the handheld remote’s signal and then require a separate synchronization step at the opener; newer vehicle interfaces may provide their own on-screen process. Do not repeatedly hold the opener’s LEARN button while trying different vehicle instructions.
A myQ app connection is a separate Wi-Fi and account setup, not the same operation as pairing a remote with the LEARN button. Follow the setup process for the exact opener or myQ accessory in the app.
Remove a lost or unknown remote
LiftMaster openers generally erase all remote and keypad codes together rather than deleting one missing handheld remote individually:
- At the opener—or at the myQ control panel if your model uses it for programming—press and hold the applicable LEARN button until its LED goes out. LiftMaster gives approximately six seconds for the opener-button method.
- Release the button.
- Reprogram every remote and keypad that should retain access.
- Test each authorized device.
Unplugging the opener does not clear its programmed remotes; LiftMaster notes that codes remain after an extended period without power in its memory-erasing guidance.
If programming does not work
Work through these checks without changing travel or force settings:
- Nothing lights on the remote: Replace its battery in the correct orientation, then retry.
- The LEARN indicator times out: Press and release LEARN again, then complete the remote or keypad step within 30 seconds.
- The wall button works but no remotes work: Check whether the wall control’s lock feature is enabled. Lock mode can disable handheld controls without indicating an opener motor failure.
- One old remote works but the new one does not: Recheck compatibility and follow the accessory’s own setup instructions. MAX remotes, in particular, need the preliminary opener-type selection.
- An 8500 accessory will not pair at the operator: Check the exact wall-control model and use its programming control where the accessory instructions require it.
- The opener does not respond to the wall control either: This is no longer just a pairing problem. Follow a symptom-based garage door opener troubleshooting sequence before buying another remote.
Programming should not require adjusting springs, cables, tracks, force or travel limits. Stop using the door if it is crooked, off-track, unexpectedly heavy, binding or has damaged spring or cable hardware; pairing a remote cannot correct a mechanical door fault.