
A “keyless entry remote” may mean a keypad or handheld transmitter. Identify the accessory first, then match it to the opener—not the door.
Identify, match and program a garage keyless entry remote or keypad, with safe checks for batteries, compatibility and lost controls.
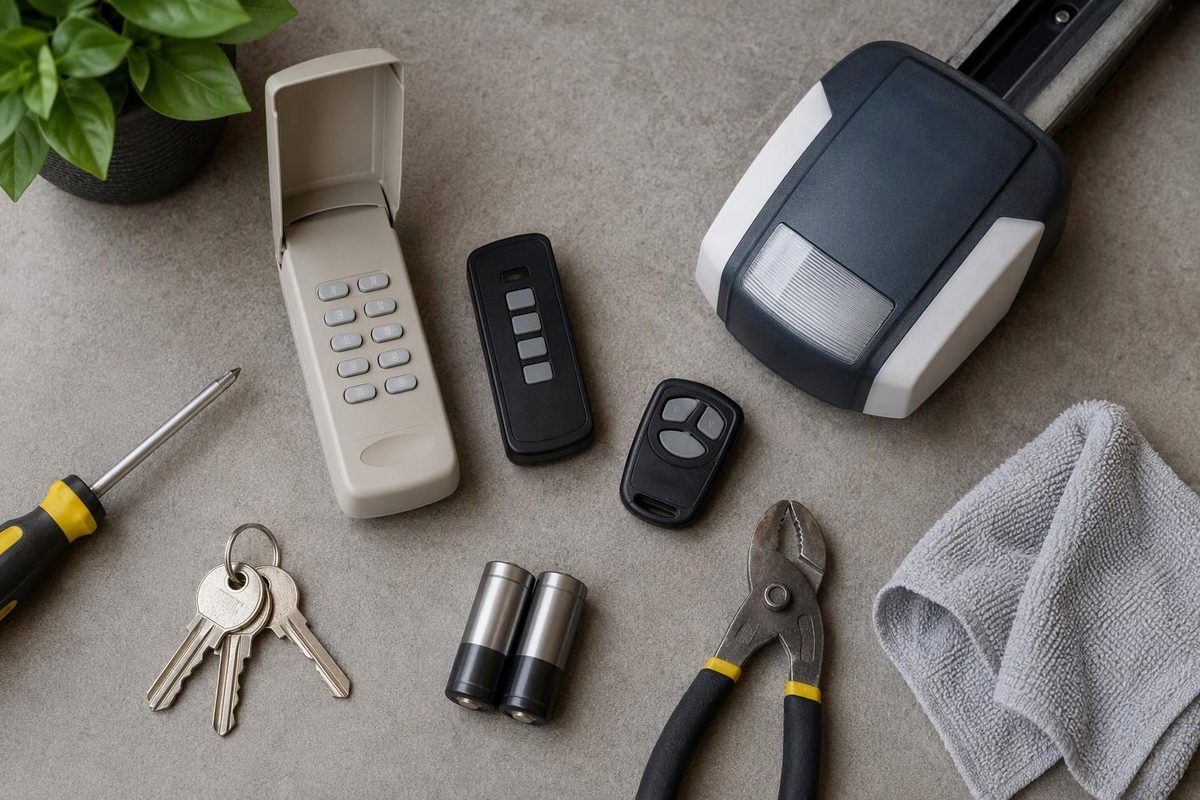
“Keyless entry remote” can describe two different garage-door accessories:
- A handheld remote opens the door when you press a stored button.
- An exterior wireless keypad opens it after you enter a PIN.
A keypad is wireless, but manufacturers usually call it wireless keyless entry rather than a remote. That distinction matters when ordering a replacement or looking up instructions.
Neither accessory is matched to the garage door itself. It must communicate with the garage door opener—the powered unit inside the garage.
Collect these details before buying
Do not select a replacement by brand name or appearance alone. Photograph or write down:
- Opener brand and model number. Check the opener housing, not the door label.
- Accessory model number. Look on the back, under the cover or inside the battery compartment.
- Learn-button color and location. On Chamberlain openers, the Learn button is on the back or right side of the opener near the hanging antenna wire; Chamberlain uses its color to identify compatible remotes and keypads (Chamberlain Group). Other brands use their own model, date and radio-system distinctions.
- Approximate manufacture date. This helps separate generations that look similar but use different radio protocols.
- How many doors you want to control. A multi-button remote or multi-door keypad is not automatically compatible with every opener in the garage.
A product labeled “universal” still has a compatibility list. Confirm that the exact opener brand or receiver system appears in the accessory manual, along with the required programming method. Chamberlain’s compatibility page, for example, separates controls by Learn-button color and model rather than giving one universal pairing sequence (Chamberlain Group).
Choose the right type of keyless access
| Accessory | Best use | Main limitation |
|---|---|---|
| Handheld or visor remote | Opening the door from a vehicle | Can be lost, stolen or left in a vehicle |
| Exterior wireless keypad | Entry without carrying a remote | Requires a compatible keypad and a PIN |
| Multi-door keypad | Controlling several compatible openers | Door-selection steps vary by model |
| Smart-app control | Remote status and control on supported systems | Depends on compatible hardware, account access and connectivity |
Features also vary. The current Overhead Door OKP keypad supports a temporary PIN and up to three CodeDodger-equipped openers, but those are specifications for that product—not universal keypad features (Overhead Door).
Program it using the exact accessory instructions
Programming commonly has two parts: configure the remote or keypad, then place the opener’s receiver in learning mode. Button names, press duration and sequence vary enough that a generic combination can fail or affect existing controls.
Use this setup sequence:
- Close the garage door. Keep people, pets, vehicles and tools out of its path.
- Test the door from the wall control. If it is crooked, binding, off-track, unusually heavy or affected by a broken spring or cable, stop. A new remote will not correct a door problem. Follow the symptom-based checks in Garage Door Opener Does Not Work.
- Install the specified battery in the accessory and check whether its indicator or backlight operates.
- Find both manuals: one for the opener and one for the remote or keypad. Match model numbers before proceeding.
- Set the keypad PIN if applicable. Avoid an address, repeated digit or another easily guessed code.
- Put the opener into Learn or Program mode exactly as its manual directs. Use a stable stepladder and do not reach across the rail, door or moving hardware.
- Complete the accessory sequence within the manual’s stated time window.
- Test from a position where you can see the entire door. Keep the opening clear while confirming operation.
- Mount an exterior keypad only after it works. For example, Overhead Door’s OKP instructions specify that the keypad must remain within sight of the door, at least 5 feet above the ground and clear of moving door parts (Overhead Door). Follow the mounting requirements for your model.
Do not adjust force, travel limits, springs or cables merely to make an accessory pair. Those are separate door or opener issues; spring and cable work also involves stored energy.
If the remote or keypad will not work
Work through these checks in order:
- Confirm that the wall control operates the opener. If it does not, diagnose power or the door system before the wireless accessory.
- Replace the accessory battery with the specified type and orientation.
- Verify compatibility again. A similar housing or matching brand logo does not establish a radio match.
- Move close to the opener for one test. If it works only nearby, follow the manufacturer’s checks for a weak battery or radio interference.
- Check the opener’s lock or vacation setting. On some models, it suppresses wireless controls.
- Reset only the accessory, then reprogram it if its manual provides that option. Overhead Door publishes different reset and pairing sequences for its OKP-BX and older OWK-BX keypads, illustrating why the model number matters (Overhead Door).
- Do not erase opener memory casually. A full memory erase may remove other authorized remotes and keypads, leaving each one to be enrolled again.
If a remote is lost or a PIN may have been shared, changing the keypad PIN does not necessarily revoke a separate handheld remote. Use the opener’s model-specific procedure to remove or erase wireless controls, then reprogram only the devices that should retain access.
Identify the accessory, match it to the opener’s receiver system and use the instructions for both exact models. “Universal,” a matching logo and a fresh battery are not substitutes for compatibility.