
Choose Garage Wall Shelves That Fit and Mount Safely
Check vehicle and door clearance, match shelf brackets to your wall, and verify model-specific load limits before buying or drilling into your garage wall.
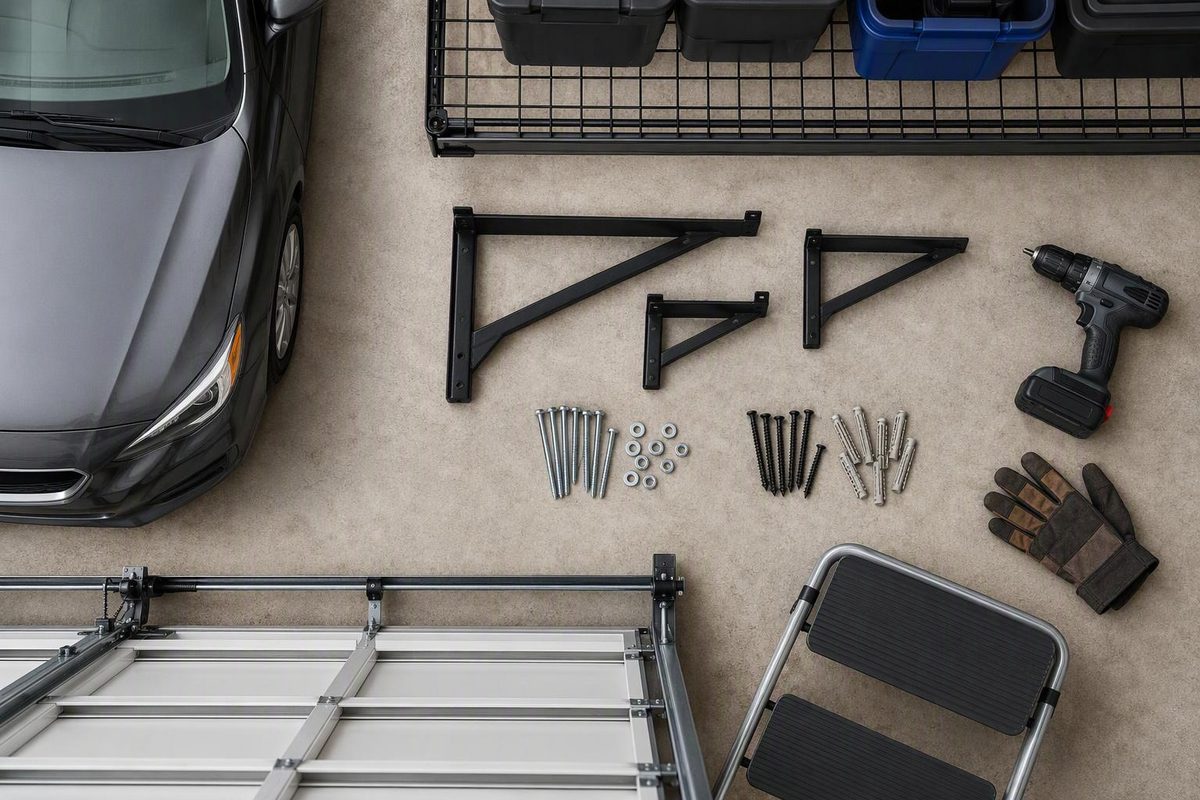
Choose wall mounted garage shelving only when its full projection clears your vehicle and garage door, its mounting layout suits the actual wall, and its exact model has a verified load limit. Getting storage off the floor does not make a deep shelf practical—or its advertised capacity safe for any installation.
The brackets, fasteners, supporting wall, and installation layout must meet the manufacturer’s requirements. If any of those checks is unresolved, do not drill or load the shelf yet.
Select what you have verified; the checker shows what still blocks installation.
Installation Readiness Check
Do Not Drill or Load Yet
Three checks remain unresolved.
- Measure full shelf projection, retrieval space, and vehicle and garage-door movement.
- Verify wall construction, the approved fastening layout, and a drilling location clear of concealed services.
- Verify the exact model’s capacity, rating scope, and intended load.
This checker does not assess wall strength or certify an installation.
Sources: SafeRacks steel wall-shelf instructions, Gladiator Max GearLoft manual, and Clopay spring guidance linked in the article. Readiness depends on your verified answers, not a calculated capacity.
Measure the Shelf’s Occupied Space
Park your usual vehicle in its normal position. Measure at the proposed shelf height, where mirrors, roof racks, or an open hatch may be the nearest obstruction.
| Measurement | What to Include |
|---|---|
| Usable wall length | Exclude pedestrian-door swings, controls, outlets, and equipment access |
| Total projection | Shelf, mounting system, and items extending beyond the edge |
| Vertical space | Brackets, tote height, and room to lift items out |
| Retrieval space | Somewhere to stand and handle a loaded container without leaning over a vehicle |
Mock up the front edge with cardboard or a temporary measuring guide. Check car-door and hatch movement before buying. A 24-inch-deep shelf in a measured 34-inch wall-to-mirror gap leaves only 10 inches at that height—not a practical walking route.
With the mock-up removed and everyone clear, observe a normally functioning garage door through a complete opening and closing cycle. Account for moving panels, rollers, tracks, opener components, and the emergency-release cord—not merely the fully open door. Do not operate a damaged or binding door to complete this check.
Keep shelves independent of garage-door tracks, hangers, and opener supports. If the layout requires relocating door hardware, choose another location or have a qualified door technician assess it. Spring and cable work is not part of a shelf installation: springs store energy, and extension-spring systems use pulleys and cables to transfer that force. Clopay warns against owner spring repair or adjustment.
If the wall location cannot provide usable clearance, compare alternatives in our garage shelf storage guide.
Match the Shelf System to the Actual Wall
Choose the mounting system after verifying the wall construction and framing—not after buying a kit whose bracket positions may not fit.
| System | Best Reason to Choose It | Check Before Buying |
|---|---|---|
| Direct-mounted shelf kit | Fixed shelf layout | Bracket positions match framing |
| Rail or panel system | Repositionable storage | Compatible shelves, rail fastening, combined limits |
| Custom deck on brackets | Unusual width or depth | Deck span, brackets, fastening, wall support |
Do not assume every garage has the same stud spacing. The SafeRacks steel wall-shelf instructions specify mounting into wall studs, normally with brackets 32 inches apart; they also permit 16-inch spacing for 36-inch wire decks. Those are product-specific layouts, not universal shelf-building rules.
A rail system does not eliminate structural attachment. The Gladiator Max GearLoft manual requires compatible GearWall panels or GearTrack channels. For that shelf, GearTrack installation uses two channels 6 inches apart, with mounting screws in every slot at every stud location and no more than 24 inches horizontally between screws. Follow the wall-system instructions as well as the shelf manual.
Stop before drilling if you cannot establish the wall construction, an approved fastening layout, or a safe drilling location clear of concealed wiring and plumbing. Do not substitute drywall anchors for required stud attachment.
Solid concrete, hollow block, and metal-stud walls need instructions applicable to that exact construction. Approval for one does not establish approval for another. A custom deck likewise needs verification as a complete assembly; a bracket rating alone does not establish the capacity of its deck, fasteners, and supporting wall.
Verify the Exact Model’s Load Limit
Weigh containers after filling them. Then check whether the stated capacity applies to one shelf, a pair, a bracket, or the whole system—and whether it requires a distributed load.
| Shelf or Model | Stated Limit | Scope |
|---|---|---|
| SafeRacks, 12-inch depth | 150 pounds | Per shelf |
| SafeRacks, 18- or 24-inch depth | 250 pounds | Per shelf |
| Gladiator Max GearLoft GAGL30WSJG / GAGL30WSJW | 200 pounds | Maximum for the specified shelf |
The SafeRacks figures come from its wall-shelf manual; the Gladiator limit comes from the Max GearLoft manual covering those two models. Neither rating transfers to a similar-looking shelf or a different mounting arrangement.
If the specifications are unclear, resolve them before loading. As of October 4, 2026, the Fleximounts WR24 two-pack page contains both a 600-pound-total highlight and a description saying “The shelf provides safe loads up to 400 lbs.” Those statements do not clearly establish matching per-shelf and kit limits. Ask for the applicable manual and written capacity for the exact kit rather than selecting the larger number.
Also confirm how hanging accessories count toward the load. A shelf rating is not automatically permission to hang additional weight beneath it.
Install to the Manual, Then Inspect Before Loading
Use the exact model’s assembly sequence, fastener sizes, pilot-hole requirements, and locking or retaining parts. A generic lag-bolt recipe cannot replace those instructions.
Before loading, verify that every required structural fastener is installed correctly, rails and brackets are level and fully seated, and decks, clips, wing nuts, or other retainers are secured. Recheck that neither the shelves nor stored items encroach on garage-door movement or equipment access.
Keep heavy items low and readily accessible; reserve high shelves for lighter, infrequently used storage. Spread loads rather than concentrating dense items at one edge, while following model-specific loading instructions. Never stand or climb on a storage shelf.
Label each shelf with its verified limit. If a bracket shifts, a fastener loosens, or the deck begins to sag, keep people and vehicles clear and arrange safe unloading and inspection before using it again.