
Plan Garage Overhead Storage Without Hitting the Door—or Overloading the Ceiling
Measure overhead-rack clearance, identify the ceiling structure, verify load limits and recognize when a garage storage installation should stop.
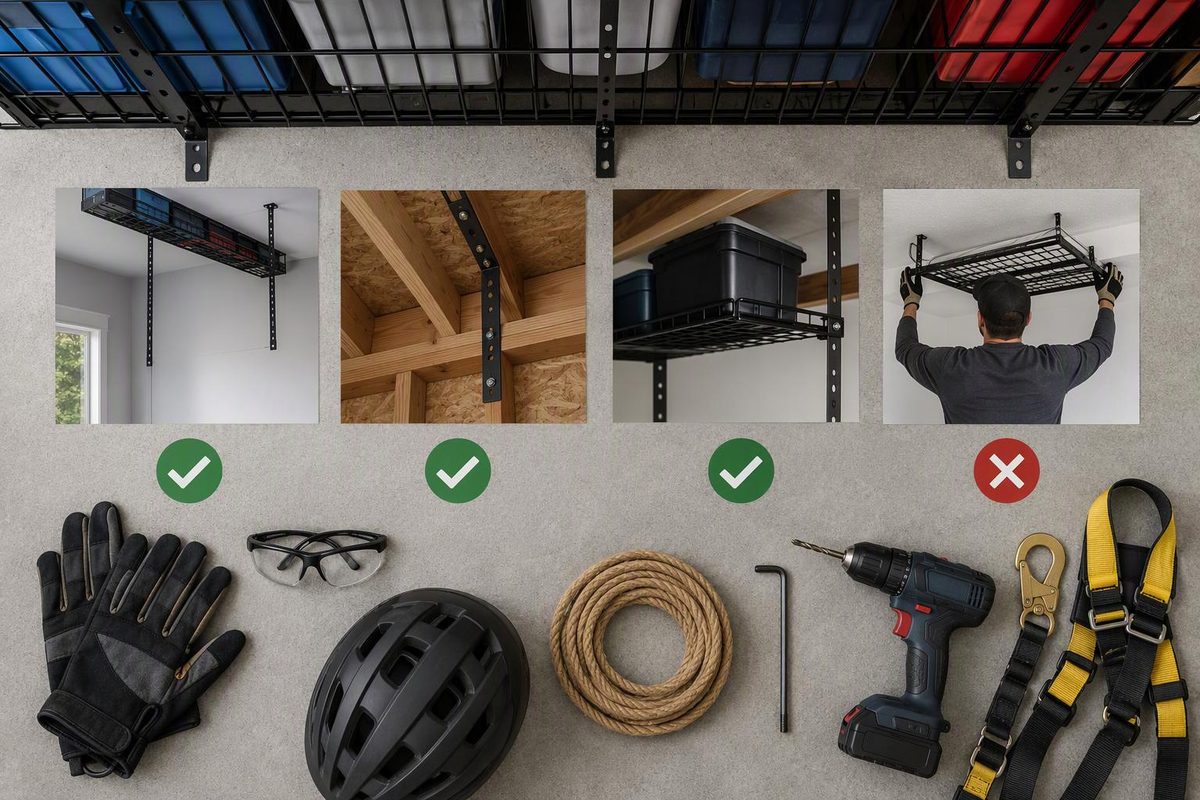
A rack’s advertised capacity does not mean every garage ceiling can carry that load. The allowable stored weight is limited by:
- the rack’s rated capacity;
- the fasteners and mounting layout specified in its manual; and
- the load the building structure can support at those attachment points.
If any one of those limits is unknown, do not assume the smallest number printed on the box is safe.
Map the garage door’s complete path
Observe the door from a safe position as it completes a full opening and closing cycle. A sectional door changes position and angle as it moves, so checking clearance only when it is fully open can miss a conflict.
Record:
- Ceiling height: floor to finished ceiling.
- Door travel envelope: every position occupied by the door during a complete cycle.
- Track and hardware envelope: horizontal and curved tracks, rear track hangers, shaft, springs and cables.
- Opener envelope: motor, rail, trolley, door arm, lights, wiring and the operating space needed for the emergency release.
- Vehicle clearance: the tallest vehicle with its hatch, liftgate, hood or roof accessory in the position in which it will be used.
- Rack dimensions: the assembled footprint and adjustable drop stated in the manual, rather than only the nominal shelf size on the box.
For a rack over the open door, the platform, supports and stored items must remain clear of the door’s complete moving envelope. Over a parking space, the rack’s underside must also clear the vehicle and its open hatch or liftgate.
If “rack drop” means the distance from the ceiling to the platform on the product you are considering, the basic calculation is:
Platform height = ceiling height − rack drop
A 108-inch ceiling with a 30-inch ceiling-to-platform drop puts the platform about 78 inches above the floor. That figure alone does not establish fit: the platform must clear the door and vehicle, while the area above it must accommodate the intended bins.
Mark the proposed platform edges and underside with painter’s tape or plumb lines. Cycle the door while standing clear and watch the door, trolley and connecting arm throughout their travel. Follow any minimum clearances in the rack, door and opener instructions; there is no dependable universal allowance for every combination.
If placement would require altering the tracks, springs, cables or opener geometry, stop. Those parts support, balance or move the door and are not part of a storage-rack installation.
Identify what is above the drywall
A stud finder can help locate framing, but it cannot establish the framing type, condition or load capacity. Determine whether the ceiling has:
- solid-sawn joists;
- manufactured roof trusses;
- engineered I-joists;
- steel framing; or
- concrete.
Then compare the structure with the exact rack manual. Compatibility varies. SafeRacks, for example, bases the capacities in one manual on static loads, specified wood framing and at least 2 inches of lag-screw penetration. It directs installations into engineered I-joists, steel joists, concrete and other nontraditional materials to a qualified contractor (SafeRacks assembly instructions). Those conditions apply to that rack, not automatically to another product.
Roof trusses need particular caution. Their bottom chords transfer forces to designated bearings, and their size depends on factors such as span, spacing and applied loads. Storage live load is a design input rather than something that can be inferred from a bottom chord’s dimensions (Structural Building Components Association roof-truss overview). A 2×4 bottom chord is not, by itself, proof that a loaded rack is acceptable.
Look for the project’s truss design drawings in the builder’s or owner’s records; a local building department may also have retained plans. If the drawings are unavailable, the framing is damaged or altered, or the rack would introduce consequential concentrated loads, have a structural engineer or other qualified building professional evaluate the proposal.
Do not cut, notch, splice or otherwise alter a truss to make the rack fit. The 2021 International Residential Code requires design-professional approval for those alterations and verification when added load would exceed the truss design load; the code adopted in your jurisdiction may be a different edition or contain amendments (IRC Section R502.11.3).
Treat the rack rating as a ceiling, not a target
A 600- or 750-pound label describes a rack assembled and mounted under the manufacturer’s specified conditions. It does not certify the garage structure.
Plan the load before filling the rack:
| Load | Weight |
|---|---|
| Empty rack and accessories | ___ lb |
| Filled bins | ___ lb |
| Unboxed items | ___ lb |
| Total hanging load | ___ lb |
Check whether the stated rating covers stored contents or the complete hanging system. Keep the contents and total hanging load within the applicable limits established for the rack, attachments and building structure.
Distribution also matters. SafeRacks directs users to load evenly, placing heavier objects near the vertical posts and lighter objects near the center. The Everest Max manual similarly conditions its 750-pound rating on correct installation and evenly distributed weight, with screws centered in wood joists (Everest Max installation guide). One dense object at midspan is not equivalent to the same weight spread across the platform.
Label each bin with its contents and loaded weight. Light, bulky and infrequently used items are better overhead candidates than liquids, tools or dense boxes. If ceiling capacity cannot be verified, use appropriately installed wall storage, freestanding shelving or a floor-supported tote rack instead.
Check utilities, sprinklers and access
Before drilling, account for concealed wiring, plumbing and mechanical components. The Everest manual warns of electrical-shock and plumbing hazards and recommends experienced help when their locations are unknown (Everest Max installation guide).
Also check:
- Sprinklers: A platform and its contents can obstruct sprinkler discharge. Required separation depends on the system, sprinkler type, obstruction dimensions and position. NFPA’s discussion of obstruction rules shows why the familiar 18-inch figure is not a universal rack-clearance rule (NFPA obstruction guidance). Have the sprinkler contractor, system designer or local authority approve the layout.
- Ceiling protection: Avoid unnecessary openings or damage to the garage ceiling, particularly below living space. The U.S. Fire Administration identifies a 5/8-inch Type X gypsum ceiling, or equivalent, as a fire-safety measure where living space is above a garage (USFA garage fire safety). Local code determines what your property requires.
- Heat and ignition sources: Keep combustible storage away from heaters and other hot equipment. USFA advises storing gasoline, propane, paints, oils and varnishes in a shed away from the home.
- Service access: Do not block attic openings, appliance service areas, lighting or required access to an electrical panel.
- Retrieval: Leave room to set up a suitable ladder on a stable floor. Do not plan to stand on a vehicle, chair, workbench or the rack.
Use closed, latching bins that fit fully on the platform. Nothing should project into the door path or be able to roll off. Keep frequently used, heavy or awkward items at a more accessible height.
Stop the installation when
Do not continue with a ceiling-mounted rack if:
- the framing type, direction or centerline cannot be confirmed;
- the manual does not permit the ceiling or framing system;
- the intended load has not been verified for a truss-framed ceiling;
- framing is split, sagging, wet, fire-damaged or previously altered;
- placement requires moving door tracks, springs or cables;
- fasteners could strike concealed utilities;
- the rack would obstruct a sprinkler, service area, attic opening or electrical panel; or
- the door, opener, vehicle or open liftgate enters the proposed rack envelope.
After installation, cycle the garage door with the rack empty. Check the fasteners and connections as the rack manufacturer directs, then add weight gradually and distribute it as specified. Reinspect the rack after initial loading and at the manual’s recommended intervals. Unload it if brackets move, fasteners loosen, the ceiling cracks or sags, or the rack makes new noises, then have the support system evaluated.