
Garage Shelf Storage That Fits the Car, Door, and Load
Plan garage shelf storage around vehicles, door travel, wall structure and actual load—then anchor, level and organize it without guessing.
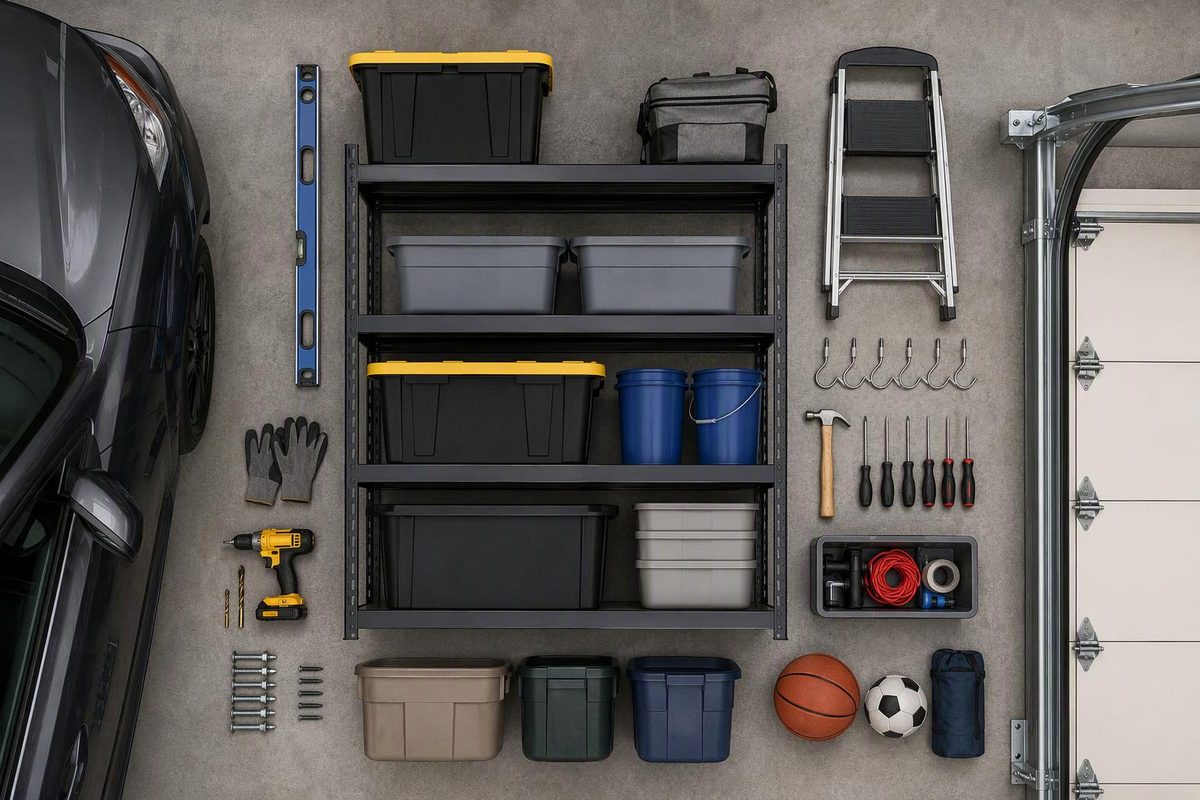
The right garage shelf storage system is not necessarily the one with the most tiers or the largest advertised capacity. It is the one that fits behind an open car door, stays outside the garage door’s path, attaches to the structure you actually have and supports the weight you will put on it.
For many garages, the practical starting point is an anchored freestanding rack with adjustable shelf heights. Wall-mounted shelving is better where floor space must stay clear, but its safe capacity depends on the complete shelf-and-anchor system and the wall construction.
Measure the operating garage, not the empty garage
Park the largest vehicle in its normal position. Open its doors, hatch and tailgate, then measure the storage zone that remains. Record:
| Measurement | What to include |
|---|---|
| Available width | Corners, windows, steps, door casing and wall-mounted controls |
| Safe shelf depth | Vehicle mirrors, open doors, walking space and anything projecting from the wall |
| Available height | Door tracks, open door sections, opener rail and arm, lights, pipes and attic access |
| Floor condition | Slope, curb, drain, cracks and raised edges that could prevent all feet from bearing evenly |
| Wall construction | Exposed wood framing, drywall over framing, concrete or masonry |
| Utility access | Electrical panel, outlets, water heater, shutoffs and appliance service space |
Run the garage door through one complete cycle while everyone stays clear, and observe its full moving envelope. Do not place a shelf, tote or projecting item where it could contact the door, track, rollers, opener arm, photo-eye wiring or emergency-release hardware. Do not drill into door tracks or spring-support hardware. If the only available space is above the door, use the more detailed overhead garage storage measurement process instead of treating it as ordinary wall shelving.
Keep quick access to the circuit-breaker panel and avoid crowding heat-producing equipment. The U.S. Fire Administration advises maintaining easy access to electrical panels and keeping combustible items on shelves away from appliances (USFA). Follow the appliance label and local requirements for any specified service or combustion clearance.
Size shelves around the containers
Measure the widest, deepest and tallest loaded tote you intend to use, including its lid and handles. Add enough vertical room to lift the lid or pull the tote out without striking the shelf above. A shelf that matches one consistent tote footprint usually wastes less space than a deep rack filled with unrelated boxes.
Before buying, sketch each shelf level and assign its contents. Put frequently used hand tools and supplies between roughly knee and shoulder height. Reserve lower levels for dense items such as automotive parts, bagged materials and power tools. Use upper levels only for lighter, stable containers.
If identical totes are the goal, a purpose-built rack may use the space more efficiently than solid shelves. These 16-bin rack plans for 27-gallon totes provide a cut list and runner layout, but verify your own tote dimensions because nominal capacity does not guarantee an identical rim profile.
Choose the shelf type by the constraint
Freestanding racks
Choose a freestanding steel, resin or wood rack when the layout may change or the wall is difficult to use. Adjustable feet can help only when they are part of the rated system and have sufficient adjustment for the floor. The rack still needs to be plumb, with every foot supported.
A freestanding label does not mean tip-resistant. One current garage-rack manual requires a flat, level surface and wall attachment, recommends fastening to a wall stud to obtain maximum capacity, and provides a separate drywall-anchor method (Harbor Freight manual). It also directs users to load from the bottom up, with the heaviest items lowest. Follow the instructions for the exact model rather than substituting a generic wall strap or assuming the supplied anchor fits every wall.
Wall-mounted track shelving
Wall-mounted shelving keeps the floor open for cleaning, tires or equipment. It is a good fit where the wall structure can be positively identified and the shelf depth will not intrude on a vehicle aisle.
Installation details are system-specific. For example, Rubbermaid’s FastTrack instructions say its 48-inch rail must begin and end on studs and hit four studs for maximum capacity, with specified anchors between studs (Rubbermaid installation instructions). ClosetMaid’s ShelfTrack instructions specify different hardware for drywall, wood studs and concrete, recommend stud attachment where possible and limit standard spacing for that system (ClosetMaid installation tips). Those dimensions are examples, not universal rules: use the manual packaged with your shelf.
Stop if you cannot identify the wall material, locate the required framing or rule out hidden wiring and plumbing. Do not translate a wood-stud installation pattern directly to hollow block, concrete or metal framing.
Built-in wood shelves
Built-ins make sense for an awkward alcove or a fixed collection of totes. Their capacity depends on lumber grade, shelf material, span, joint design, fasteners and attachment to the building. A plywood sheet and several 2-by-4s do not acquire a reliable load rating merely because the shelf feels rigid. Use an established plan that matches the intended loads, or have a qualified builder design it.
Treat capacity as a system rating
Check all of these before loading:
- Maximum load for each shelf.
- Maximum load for the entire unit.
- Whether the figures require an evenly distributed load.
- The required anchoring pattern and approved wall types.
- Whether casters, extensions or alternative configurations reduce capacity.
Do not add the shelf ratings together and assume the floor, frame or anchors can carry that total. Manufacturer ratings commonly apply only to a fully and correctly assembled product. Concentrating a dense item in the middle can also be more demanding than spreading the same weight across a shelf. Whalen’s rack instructions explicitly distinguish evenly distributed capacity from concentrated loading and direct users to place heavy, bulky objects low (Whalen manual).
Weigh uncertain containers on a scale. If four loaded totes weigh 38 pounds each and loose tools add 25 pounds, that shelf carries 177 pounds—not the empty-bin weight shown on a product page. Stay within every applicable limit and leave room for items that will be added later.
Install and load in this order
- Empty the zone. Remove anything that could enter the door path or hide floor damage.
- Mark obstructions and framing. Confirm both sides of the wall where possible before drilling.
- Assemble exactly as directed. Seat every beam, brace, clip and shelf deck. Do not use damaged or missing parts.
- Level and anchor. Use only the attachment method approved for the rack and wall type. A masonry fastener is not interchangeable with a hollow-wall anchor.
- Test access before loading. Open vehicle doors, operate the garage door and reach the panel, outlets and shutoffs.
- Load from the bottom upward. Keep heavy objects low and distribute weight rather than creating one concentrated stack.
- Label by contents and weight. Labels reduce rummaging and make it easier to return dense items to the correct level.
- Inspect periodically. Stop using the shelf if it leans, rocks, rusts through, bows, pulls away from the wall or develops loose connectors.
Never climb a storage rack or use it as a ladder. Keep a separate step stool where upper containers can be reached without pulling on the frame.
Keep fuels and other hazards out of ordinary shelf storage
A high shelf is not a substitute for proper hazardous-material storage. USFA recommends storing oil, gasoline, paints, propane and varnishes in a shed away from the home. The Consumer Product Safety Commission also says portable fuel containers belong in cool, well-ventilated areas away from ignition sources and should remain capped and out of children’s reach (CPSC).
Keep sharp tools, pesticides and other hazardous products in their original labeled containers and in storage appropriate to their instructions. If children can enter the garage, use a locked cabinet rather than relying on shelf height alone.