
Test Your Garage Slab Before Acid Staining
Learn whether your garage slab can accept acid stain, how to test the finished color, remove residue, and choose a clear coat suited to vehicle traffic.
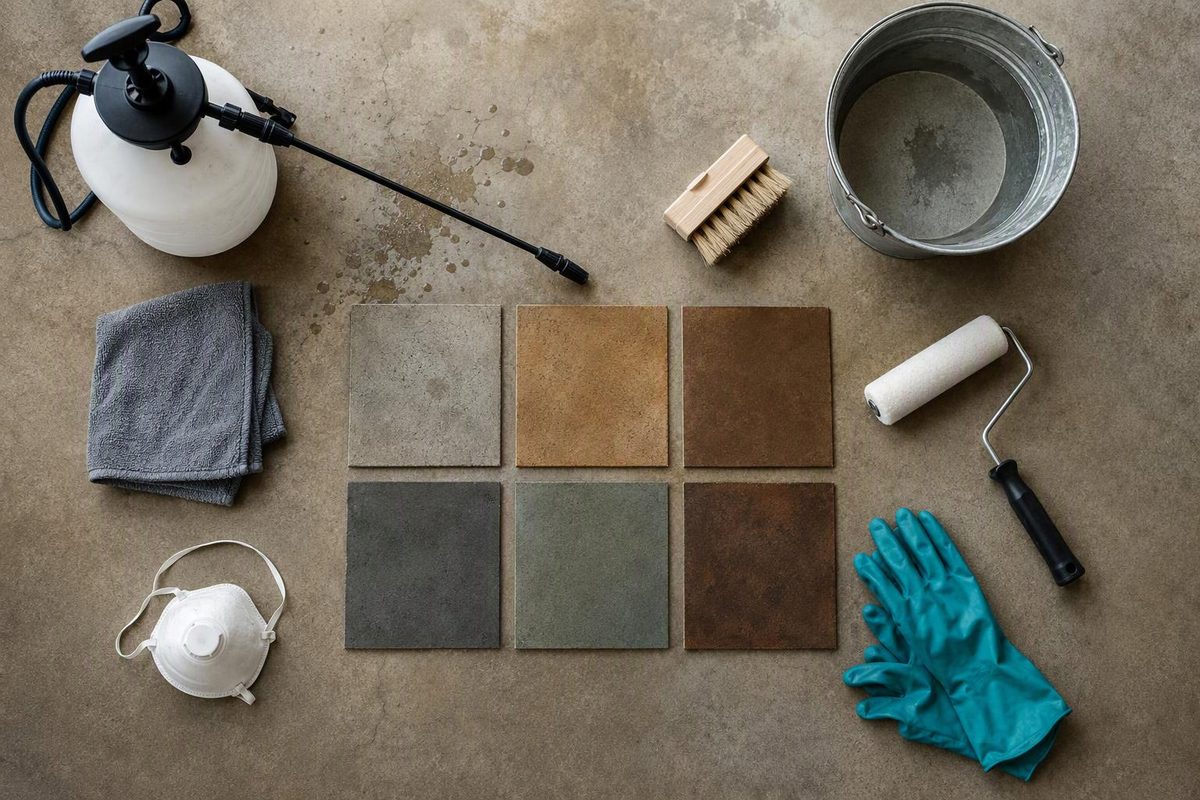
Acid staining a concrete garage floor is viable only when the slab is bare, porous, sound and free of unresolved moisture or oil problems. The stain produces translucent, mottled color rather than a uniform finish, and it will not fill cracks or conceal repairs. Proceed only after a representative test patch reacts well and looks acceptable under the clear coat you intend to use.
Check the three slab conditions; the result shows whether to test, investigate or stop.
Garage Slab Readiness Check
Choose the condition that best matches the floor now.
Checks that still apply after the slab passes
- Accept that cracks, patches, tire paths and trowel marks may remain visible.
- Complete a representative sample through staining, neutralizing, drying and clear coating.
- Verify that the complete clear-coat system is approved for the intended garage conditions and vehicle return.
Source basis: H&C reactive-stain product data and Brickform acid-stain technical instructions. Product-specific tests and coating limits control.
A Suitable Slab Must Be Bare, Porous and Sound
Acid stain reacts with minerals near the concrete surface. Paint, old sealer, curing compound, adhesive and penetrating treatments can block that reaction and must be removed before testing.
Water should absorb instead of beading. One H&C product sheet uses absorption within 10 seconds as its porosity check, but the required method and timing vary by system. Dense, power-troweled concrete may require mechanical profiling even if it has never been sealed.
Oil and grease must also be removed. A dark mark may remain after cleaning, but water should not bead or develop an oily sheen over the area. Repeat the selected manufacturer’s absorption test over former oil spots rather than judging them by color alone.
The slab’s visible history will remain part of the floor. Acid stain can emphasize cracks, tire paths, trowel marks, patches and differences between concrete pours. H&C states that its reactive stain will not hide cracks or blemishes, while Brickform says slab age, porosity, texture and composition affect the result (H&C product data sheet; Brickform technical sheet).
Recurring efflorescence, damp joints or moisture moving through the slab can interfere with a film-forming clear coat. Use the moisture test and limit specified by the chosen coating manufacturer rather than relying only on a taped-plastic spot check.
Moving cracks, vertical displacement, spalling and active water entry need attention before decorative work. Use the observable stop points in this garage-floor cracking guide.
A failed test patch is a reason to stop, not to apply more acid. A water-based stain, concrete dye, pigmented coating or resurfacing overlay may be a better fit for a weakly reactive or heavily patched slab.
The Clear Coat Determines Garage-Floor Performance
Acid stain creates color but no substantial wear film. Some manufacturers require a sealer, and the clear layer is particularly important under vehicle traffic. Select the stain, any required primer, the clear coat and the traction additive as one compatible system.
Check the clear coat’s current technical data sheet for:
- compatibility with acid-stained concrete;
- hot-tire resistance;
- resistance to the automotive fluids likely to reach the floor;
- suitability for interior use and UV exposure near the open garage door;
- permitted slab-moisture level;
- coverage, film thickness, pot life and recoat window;
- separate foot-traffic and vehicle-return times; and
- an approved traction additive if the floor may become wet.
Do not infer those properties from the words “concrete sealer” or from the resin type alone. Kemiko describes its SS3900 polyaspartic as hot-tire and chemical resistant, but its application bulletin says it is not intended for direct application over bare or porous concrete. It is designed as a topcoat over a prepared coating (technical bulletin; application bulletin). The full system build determines compatibility.
A glossy film can become slick when wet. Use only a traction additive approved for the selected clear coat and follow its specified loading rate. Sika, for example, identifies its traction additive for garages and other floors but limits its stated compatibility to the company’s film-forming Scofield products (Sika product information).
Make a Finished Test Patch Before Buying for the Whole Floor
Do not select the color from a chart or from wet stain in the container. Test the actual garage floor in more than one representative location if it contains patches, has an oil history or includes visibly different concrete pours.
Take each sample through the complete proposed process: surface preparation, stain reaction, neutralizing, residue removal, drying and application of the intended clear coat. The H&C sheet cited above notes that concrete texture, age and sealer affect final color and directs users to seal the test sample.
Evaluate the patch only after the clear coat has developed the appearance specified by its manufacturer. If the finished sample reacts unevenly in an unacceptable way, exposes repairs you do not want to see or has poor clear-coat adhesion, change systems before treating the entire floor.
Isolate the Garage and Plan for Rinse Recovery
Remove vehicles, cabinets and movable storage. Protect drywall, stem walls, the driveway and nearby metal, including garage-door tracks, brackets and hardware. Use masking materials permitted by the stain manufacturer because reactive stain can attack metal.
Decide where the cleaning liquid will go before opening the stain. Neutralizing and rinsing create colored, potentially corrosive residue. Recover it with acid-resistant wet-vacuum equipment and dispose of it according to applicable local and state requirements rather than directing it across the driveway or into landscaping.
The garage must remain unavailable while the floor is prepared, stained, cleaned, sealed and cured. Arrange secure alternative parking before work begins.
Prepare to Both the Stain and Clear-Coat Specifications
Degrease the floor and remove coatings, adhesive and contaminant residue. Repair defects that require repair, recognizing that patching compounds may react differently from the surrounding concrete or may not react at all.
Dense slabs and previously coated floors commonly require mechanical profiling. Follow the preparation requirements for both the stain and the clear coat; meeting one product’s requirements does not establish compatibility with the other.
Do not improvise by washing the floor with muriatic acid. Concrete Coatings says not to clean with muriatic or hydrochloric acid because it can reduce the stain reaction, while the Brickform sheet cited above permits controlled chemical profiling for its own system. The instructions for the selected products settle the method (Concrete Coatings application sheet).
Grinding concrete creates respirable silica. OSHA’s construction guidance for handheld grinders describes wet methods or a properly configured shroud and vacuum dust-collection system. It also warns against using compressed air to clean dust unless ventilation captures the dust cloud (OSHA silica-control fact sheet). If suitable dust control is unavailable, stop and hire equipped help. A broader coating-preparation sequence is covered in garage epoxy flooring installation.
After profiling, vacuum and clean until no dust, grease or cleaner remains. Repeat the manufacturer’s water-absorption test across the floor, including patches and former oil spots.
Apply the Exact Stain According to Its Safety Documents
“Acid stain” is not one standardized formula. Read the current label, technical sheet and safety data sheet for the exact product before selecting ventilation, protective equipment or application tools.
The H&C reactive stain cited earlier is labeled corrosive and calls for protective clothing, chemical-resistant gloves, an apron and boots, plus a specified P100/hydrogen-chloride respirator rather than an ordinary dust mask. Those directions apply to that product; another stain may specify different protection. If you cannot provide the ventilation, PPE and controlled work area required by your selected stain, do not apply it yourself.
Use acid-resistant, nonmetallic equipment. Stay within the product’s temperature and humidity limits, maintain a wet edge, and prevent puddles and drips. Work between control joints where practical so sections end at a natural break instead of a drying lap. Keep children and pets out of the work area.
Reaction time, dilution and coverage are product-specific. Calculate the required material from the selected technical sheet and observed slab porosity rather than using a universal coverage estimate.
Neutralizing and Residue Removal Protect Adhesion
After the specified reaction period, neutralize the floor with the product-approved cleaner or solution. Scrub, recover the liquid and rinse as directed. Continue until the rinse water is clean and the surface no longer leaves powder on a light-colored pad or cloth.
This is an adhesion step, not cosmetic cleanup. Brickform warns that incomplete residue removal can harm sealer adhesion, durability and appearance. Inspect corners, cracks, wall edges and control joints carefully because they collect residue and rinse water.
Do not assume that extra rinsing corrects an unreactive surface. If the cleaned test area has little reaction or inconsistent color that the clear coat does not make acceptable, stop and choose another finish.
Dry the Floor Fully Before Sealing
Do not apply clear coat merely because the open surface looks dry. Control joints, cracks and wall lines retain water longer, and trapped moisture can whiten some sealers. Observe the stain manufacturer’s minimum wait, then satisfy the clear coat’s stated moisture, surface-temperature and dew-point limits.
Apply each coat at the specified coverage and film thickness and remain within the recoat window. Solvent-bearing and some two-component products introduce additional vapor, ignition and respiratory hazards. The Kemiko SS3900 bulletin cited above, for example, directs users to eliminate ignition sources, turn off pilot lights and water heaters, wear specified protection and ventilate the workspace. Follow the selected coating’s SDS rather than assuming an open overhead door provides sufficient protection.
Keep foot traffic, tires, water and chemicals off the floor for their separate published cure periods. “Dry to touch” is not permission to park. Prevent the garage-door bottom seal from resting on uncured clear coat, and do not return a vehicle until the coating manufacturer’s vehicle-return time has passed.
The acid reaction establishes the color, but the compatible clear system above it supplies the garage floor’s wear surface. A sealed test patch and a vehicle-suitable topcoat are the two decisive checks before treating the whole slab.