
Ceiling Storage Rack Anchoring: Framing, Fasteners and Stop Points
Check what a ceiling storage rack must anchor into, why drywall anchors are unsuitable, and when framing or loose fasteners mean installation should stop.
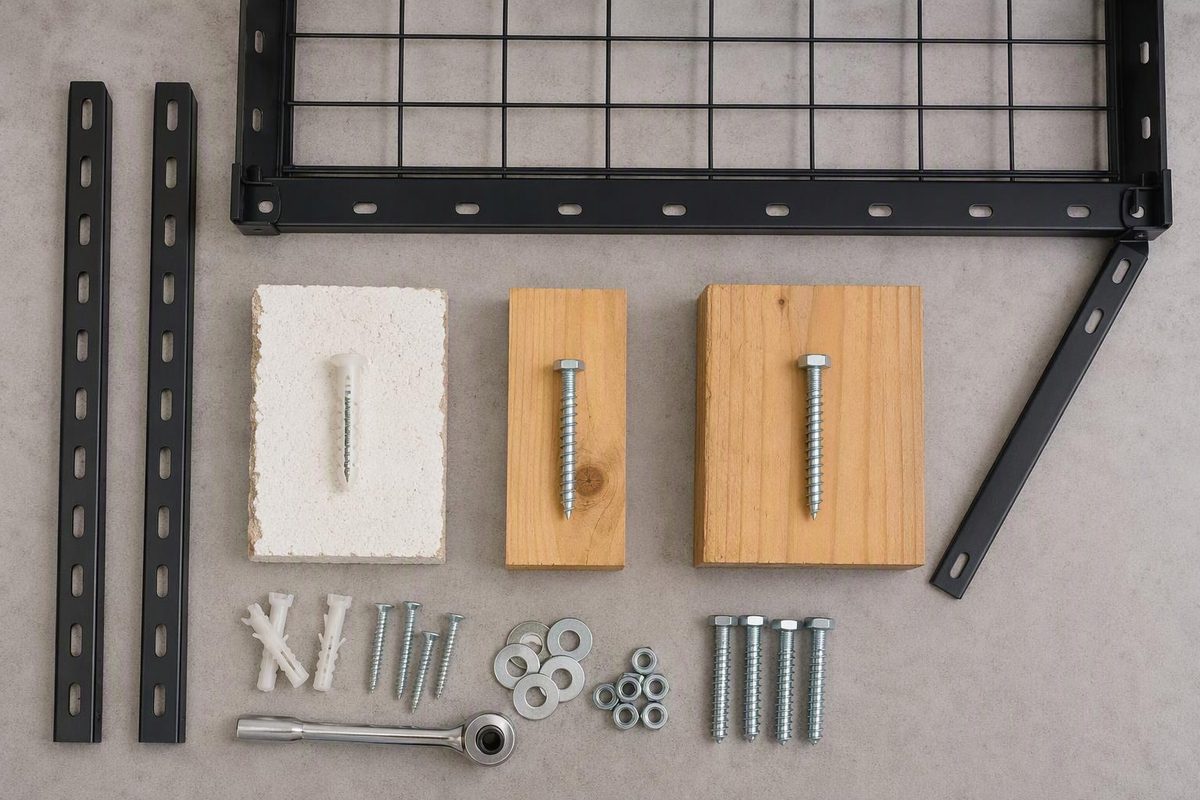
A ceiling storage rack must be anchored to structural framing—or another ceiling material specifically approved for that rack—not to drywall alone. The attachment must follow the exact model’s instructions, and the ceiling must support the rack plus everything stored on it. A rack’s advertised capacity does not establish your garage ceiling’s capacity. Fleximounts installation manual
For a wood-framed installation, SafeRacks specifies lag bolts into ceiling joists and warns that the house framing is the system’s weakest point. Drywall anchors and toggle bolts are not substitutes for that specified connection. SafeRacks assembly instructions
1. Identify the structure before choosing anchors
Locate the framing direction, spacing and member type. On a finished ceiling, use a stud finder as a starting point, not as proof that every mark is a suitable mounting location. SafeRacks directs installers to mark the joist edges and midpoint and verify those locations. SafeRacks assembly instructions
Check for concealed wiring or plumbing before making verification holes or drilling. If you cannot establish a safe drilling location, stop and get qualified help.
The distinction between framing types matters:
- Solid-sawn ceiling joists: Confirm that their size, spacing and condition meet the rack manual’s requirements. Meeting the attachment requirements does not, by itself, verify the available load capacity.
- Roof-truss bottom chords: These are engineered members, not ordinary shelf supports. Their design depends on span, spacing and loads; storage loading is incorporated in some designs, such as attic trusses, but should not be assumed for every truss. Have the truss manufacturer or a structural engineer verify the proposed rack load and attachment locations if that capacity is unknown. Structural Building Components Association
- Engineered I-joists, steel or concrete: Do not transfer a wood-joist mounting method to these materials. The linked SafeRacks manual calls for professional installation into nontraditional materials but also states that those installations void its warranty. Do not treat hiring an installer as blanket approval: obtain a rack and attachment detail approved for the actual structure. SafeRacks assembly instructions
Stop if you cannot identify the supporting members or verify their suitability. A screw that feels tight does not answer either question.
2. Match the bracket layout—not just the bolt size
Find the manual for the rack you actually own. Bracket orientation, fastener count, pilot holes and required penetration are model-specific.
For example, the SafeRacks manual linked above specifies:
- Two supplied 5/16-inch × 3-inch lag bolts per ceiling bracket, with washers.
- A 3/16-inch pilot hole drilled 3 inches deep at each verified joist center.
- At least 2 inches of lag-screw penetration into the wood.
- Brackets installed either perpendicular across two joists or parallel along one joist, following the corresponding layout.
These are that manual’s requirements, not a universal specification for overhead racks. Ceiling finish thickness is not wood penetration; check the actual assembly rather than assuming a nominal screw length is sufficient. SafeRacks assembly instructions
The hanger position also matters. SafeRacks requires each vertical post to sit between the two lag bolts, not beyond them in a cantilevered position. Its manual warns that the incorrect arrangement can bend the ceiling bracket and cause failure. Do not move the post outside that supported area just to make the platform fit. SafeRacks assembly instructions
If the framing does not line up, revise the location or obtain an approved mounting detail. An improvised board across the ceiling introduces another structural connection; it is not automatically a safe adapter.
3. Check garage-door clearance before drilling
Map the rack footprint, hanging posts and stored items against the door’s full travel, tracks, opener rail, motor and support brackets—not only the door’s fully open position. Include anything hanging beneath the rack.
Keep the storage installation independent of the door hardware. If the proposed location requires altering springs, cables or their brackets, stop and have a garage-door specialist assess it. Stored-energy spring work is not part of a storage-rack installation.
For the broader layout and load-planning checks, use Garage Overhead Storage: Measure, Load and Install Safely.
4. Audit an existing rack before loading it
Check the installation against its manual: every required fastener present, hanger positions correct, posts aligned, connections secure and decking properly seated. SafeRacks specifically calls for checking that ceiling lag bolts have not pulled out during assembly and that all post and bracket bolts are tight before loading. SafeRacks assembly instructions
Do not add weight to a rack with pulling fasteners, bent brackets, damaged framing or an undocumented attachment. Keep people and vehicles out from beneath a visibly failing rack and arrange assessment before attempting to unload it.
Once the installation is verified, follow its load-distribution instructions and never climb on the rack. SafeRacks also requires loads on its accessory hooks to count toward the rack’s total capacity. Separately, the building structure must support the complete hanging load, including the rack and accessories themselves. SafeRacks assembly instructions; Fleximounts installation manual