
Plan Garage Bin Storage Around the Tote—not the Gallon Label
Choose garage bin storage by measuring loaded totes, checking rack compatibility and weight limits, and preserving vehicle and garage-door clearance.
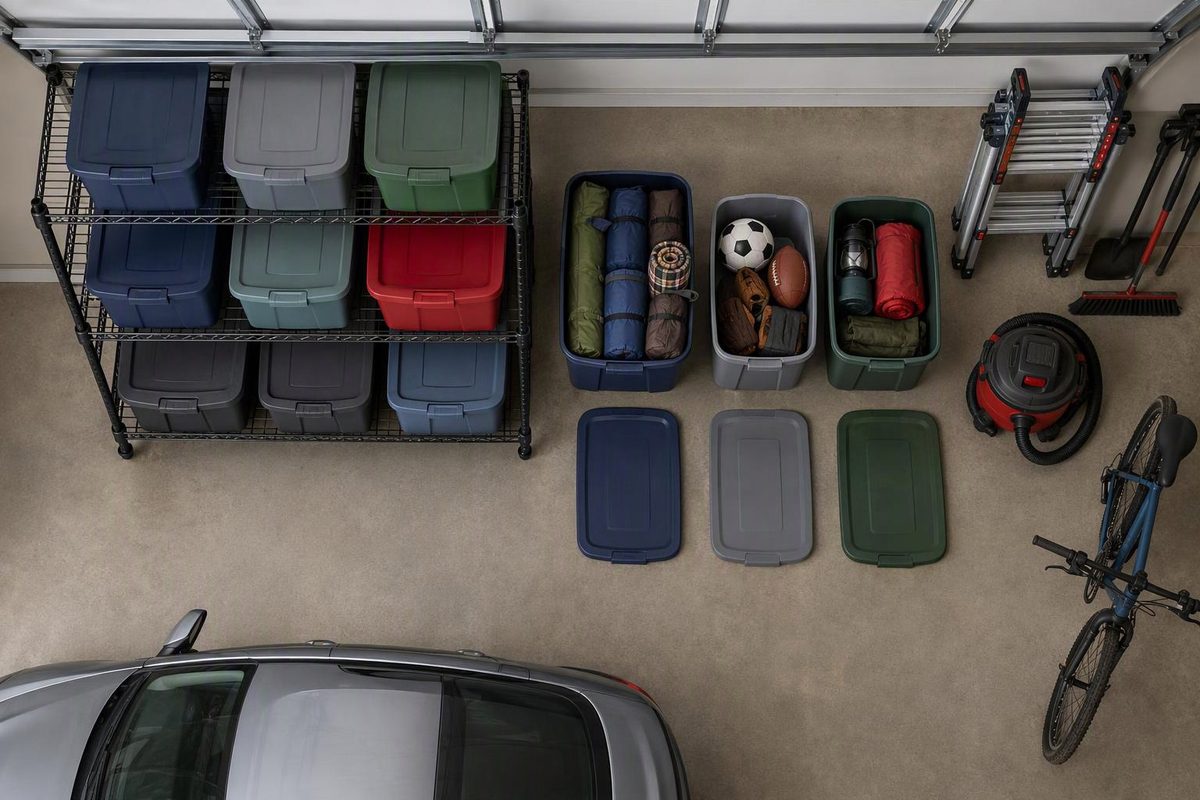
For everyday garage bin storage, start with shelves or a compatible tote rack that lets you remove one bin without moving the others. Use floor stacks for occasional-access items and overhead storage only where the load, mounting structure and retrieval method have been checked.
The deciding measurements are the loaded tote’s outside dimensions, the rack’s usable openings and the space needed to pull the tote out. A gallon label tells you capacity—not whether the bin fits.
1. Choose bins around what you can lift
Sort the items you intend to keep before buying matching containers. As a practical starting point:
- Put dense hardware and tools in smaller bins rather than filling a large tote to capacity.
- Use larger totes for bulky, lighter items such as seasonal decorations or camping gear.
- Keep frequently used items in bins you can reach and remove without a ladder.
- Label the face visible from the aisle; add a second label if the tote may be stored in another orientation.
Pack one sample tote and weigh it with its lid and contents. If you cannot comfortably handle it at the intended storage height, split the contents or move it lower. Follow any load limits provided by the tote manufacturer as well as the rack limits. A rack’s weight rating is not a lifting recommendation.
2. Measure the actual tote—not just “27 gallon”
Measure the widest points, including lid edges, handles and latches, plus the height with the lid closed. Check the bottom footprint separately if the shelf must support it.
These two 27-gallon products illustrate why nominal capacity is not a fit standard:
| Tote | Published outside dimensions |
|---|---|
| HDX Tough Tote, model 999-27G-HDX | 28.5 inches deep × 19.6 inches wide × 15.2 inches high |
| Sterilite Stacker Tote, model 1488 | 25¾ inches long × 18⅜ inches wide × 19⅜ inches high |
Dimensions are from the HDX product listing and Sterilite’s specifications, checked October 3, 2026. Confirm the exact model before ordering.
For shelves, check clear width between posts, usable depth and vertical opening—not merely the rack’s overall dimensions. Allow room to grip the tote and lift it clear. If two bins share a shelf, add their widths together, then allow handling space; do not plan a friction-tight fit.
For slide-in rails, also verify the exact tote model and rim profile. SafeRacks’ five-bin rack listing, for example, explicitly excludes HDX bins despite describing compatibility with most 27-gallon bins. Similar-looking black-and-yellow totes are not necessarily interchangeable.
3. Choose the support system
| System | Useful when | Main check |
|---|---|---|
| Shelves supporting the bin bottoms | You have mixed bin sizes or want flexibility | Usable shelf dimensions, load limits and required anchoring |
| Slide-in tote rack | You want individual access to matching totes | Approved tote geometry, secure rail engagement and per-bin limits |
| Floor stack | You rarely need the lower bins | Compatible stacking lids, stability and manageable stack height |
| Overhead rack | You need floor space for parking and store infrequently used items | Structure, door travel, load limits and safe retrieval |
Sterilite recommends keeping the heaviest bin at the bottom when stacking its Stacker Totes. Avoid a stack that requires you to lower a heavy tote from above your comfortable reach.
For shelf selection and anchoring checks, use the garage shelf storage guide. If you want a timber tote rack, compare the 27-gallon tote rack plans against your actual bins before cutting; the gallon label alone does not establish fit.
4. Check access with the car parked
Mark the proposed rack footprint on the floor with tape. Park normally, then check vehicle-door swing, walking access and the route into the house.
Next, hold a sample tote where the rack opening will be and simulate pulling it fully out. A rack may fit beside the vehicle while leaving too little space to retrieve a bin.
With everyone and all objects clear of the door’s path, observe the garage door through its full travel. Keep storage clear of panels, tracks, opener components and safety-sensor beams. Do not attach storage to door hardware or move spring and cable components to make room. LiftMaster’s safety instructions require unobstructed door travel and reserve work on tensioned spring and cable assemblies for trained door systems technicians.
Overhead bins need separate clearance and structural checks; follow the garage overhead storage guide before selecting that location.
5. Check both individual and total loads
Do not divide a rack’s total rating among fewer bins and assume each opening can carry more. SafeRacks specifies 50 pounds per bin and 250 pounds total for its five-bin rack. Both limits apply.
Follow the exact rack instructions for assembly, leveling and wall restraints. SafeRacks’ bin-rack manual includes wall-restraint instructions and directs users to keep heavier bins toward the bottom and ensure the bin sides are securely supported when sliding them in and out.
For shelves, check both per-shelf and whole-unit limits, along with any required load distribution. Stop before loading if the unit rocks, connections are incomplete or the required mounting method cannot be verified.
6. Keep hazardous products out of the ordinary tote system
Do not treat a general-purpose storage tote as a fuel or chemical-storage solution. The U.S. Fire Administration’s garage safety guidance recommends storing oil, gasoline, paints, propane and varnishes in a shed away from the home, and keeping combustible stored items on shelves away from appliances.
Before buying a full set, test one loaded bin in the proposed position. It should close properly, sit securely, clear the opening and come out without moving the car or wrestling another tote aside.