
Extension Spring Installed Wrong? What to Check Without Adjusting It
Spot missing safety cables, routing problems and spring mismatches on a garage door—and know when to stop using it and request an installation recheck.
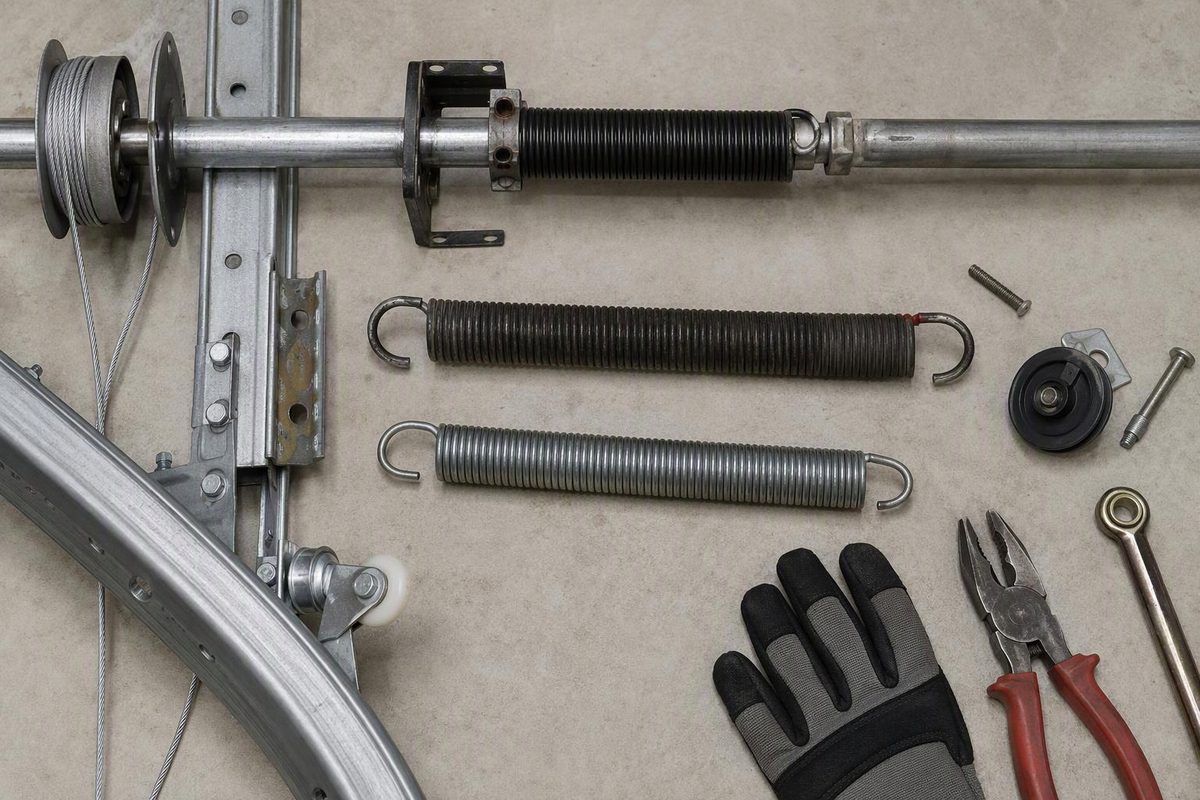
If your garage door became crooked, jerky or difficult to move immediately after an extension-spring replacement, stop using it and request an installation recheck. Possible problems include incorrect cable routing, unequal adjustment, an unsuitable spring or interference with the safety cable. The symptom alone does not prove the spring was installed wrong. Other spring, pulley or track faults also need to be considered.
Your useful checks are visual and documentary. Changing spring tension, moving cable anchors or loosening bottom brackets is specialist work: these components can release dangerous spring force. DASMA’s safety guidance reserves spring-system repairs and bottom-bracket adjustments for trained technicians.
1. Leave the door in its current position
- Fully closed: Leave it shut. Do not run the opener or force it upward to see whether the new springs “settle in.”
- Open, partly open or crooked: Keep people, pets and vehicles clear. Do not pull the emergency-release cord or try to push the door down; arrange urgent professional service.
- Broken spring, frayed cable or displaced roller: Do not attempt a manual operating test.
Chamberlain warns that a door with weak or broken springs may fall rapidly without warning, and advises against manual operation when springs, cables or rollers appear damaged. For a visible break, see our position-by-position broken-spring guidance.
2. Confirm which spring system you have
This checklist covers typical sectional doors with extension springs alongside the horizontal tracks, not one-piece swing-up doors. The extension springs stretch as the door closes, and a cable-and-pulley system transfers their pull to the door. Torsion springs instead twist around a shaft, usually above the opening. Clopay explains the distinction.
This matters because a torsion-spring winding chart does not apply to a standard extension-spring system. Proprietary systems also need their own instructions: Clopay publishes separate manuals for standard extension and EZ-SET extension assemblies.
3. Look for these installation red flags
Observe from the floor, outside the door’s travel path. Do not move the door to expose hardware, climb beside a loaded spring or tug cables to compare tension. These observations can help identify a problem; finding no obvious defect does not establish that the installation is safe.
Missing or incorrectly routed containment cable
Two different cables have different jobs:
- The lift cable connects the bottom bracket to the spring-and-pulley arrangement.
- The safety or containment cable runs through the extension spring and is secured at both ends to contain it if it breaks.
A cable beside a spring is not proof that a containment cable passes through it. Check each spring visually. Clopay’s standard extension-spring instructions explicitly prohibit operation without properly installed containment cables.
A containment cable must also allow the spring pulley to travel without binding. Prime-Line’s instructions identify pulley clearance and nonbinding safety-cable placement as installation checks. Do not tighten or reroute it yourself.
Lift cable off a pulley or visibly rubbing
Look for a cable outside the pulley groove, a tilted pulley, or visible contact with adjacent hardware. Compare photographs of both sides with the exact system’s diagram, rather than copying an unrelated online installation.
Clopay’s standard system routes the lift cable over a stationary pulley and around the spring-mounted pulley. Its specified clip and attachment arrangement are part of that system, not interchangeable details. See the manufacturer’s routing instructions.
Unequal spring arrangement or track contact
An obvious left-to-right difference in spring arrangement or stretching is worth reporting, but it is not a homeowner tension measurement. Clopay specifies equal stretching on both sides and mounting that keeps the spring assembly from dragging on the track.
On a four-spring system, different colors are not automatically wrong. Some Clopay four-spring arrangements use two color codes, with one spring of each code on each side. Verify the supplied arrangement against the applicable spring manual.
Replacement spring does not match the specified application
Find the replacement packaging, part number and invoice. Spring selection needs more than door width or visual similarity. Check the manufacturer’s application information for door weight, height, spring configuration and permitted extension. Prime-Line’s replacement guide prioritizes door weight and specifies coil length and maximum safe extension for its listed products.
Do not disconnect the springs to weigh the door yourself. Our garage-door weight guide explains what information to gather safely.
4. Ask for a system recheck, not just more tension
Send the installer the door make/model, replacement part numbers, photographs taken from safe positions, and a precise description of what changed after the repair. If you installed the springs yourself, give that information to a trained door systems technician. Ask them to verify:
- Spring suitability and the intended left/right arrangement.
- Lift-cable routing, anchoring and pulley condition.
- Containment cables and clearance throughout travel.
- Track, hanger and bottom-bracket condition.
- Manual balance and smooth operation before returning the door to opener use.
Clopay identifies uneven movement, unusual noise and a heavy door as reasons for professional spring assessment; a properly balanced door should remain at the halfway position during its prescribed balance check. Its spring guidance recommends professional adjustment when it does not. With a suspected installation fault, have the technician perform that check rather than releasing and lifting the door yourself.