
A Garage Door Strut Must Match the Door, Not Just Its Width
Learn what a garage door strut does, how to match a replacement, and when panel damage, wind ratings, or added weight call for a qualified technician.
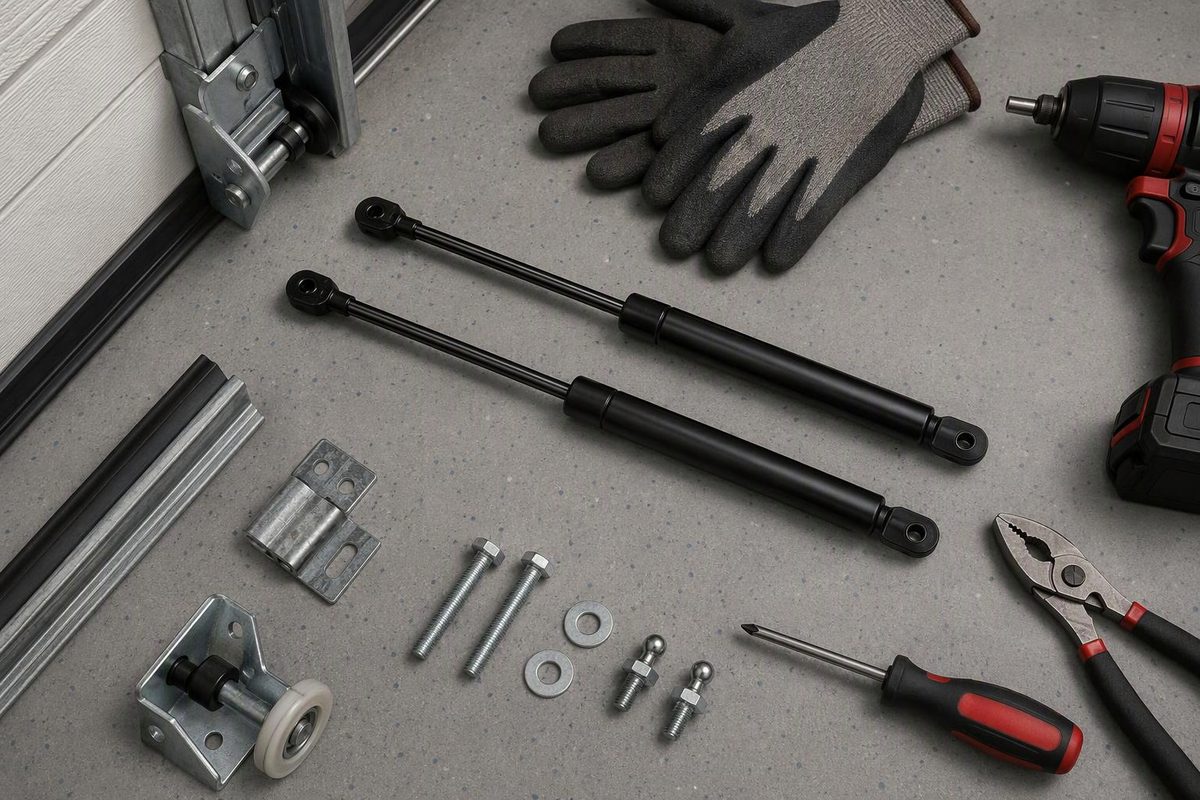
A garage door strut is a horizontal steel reinforcement installed across the inside face of a sectional door. It helps a section resist flexing or bowing as the door moves between its vertical and horizontal positions. The top section commonly has one because a ceiling-mounted opener pushes and pulls on that section.
Do not buy a strut by door width alone. The correct profile, gauge, length, location and fasteners depend on the door model, section construction, opener arrangement and, where applicable, the door’s tested wind-load configuration.
Select the door’s condition and identification details to find the appropriate next step.
Garage Door Strut Next-Step Check
Use the label and inspect the closed door without loosening hardware.
Choose a condition, identification status and wind-load status. An unanswered item is treated as unknown, not as a safe result.
How the decision works
Source basis: DASMA TDS 166 and TDS 176, plus the manufacturer instructions cited in the accompanying article.
Struts, Opener Brackets, and Wind Bracing Do Different Jobs
Three types of reinforcement are often confused:
- Horizontal strut: Spans most of a door section and increases its rigidity.
- Opener reinforcement bracket: A vertical bracket or punched angle at the opener-arm attachment point. It spreads the opener’s force into structural stiles rather than thin door skin.
- Wind-load reinforcement: A prescribed system that may include struts, heavier track and hardware, additional jamb brackets or removable vertical posts.
A top strut does not eliminate the need for the correct opener bracket. DASMA’s drawbar-operator guidance calls for top-section reinforcement according to the door manufacturer and says the operator-to-door bracket must be structurally adequate for the lifting force (DASMA TDS 166). Clopay likewise specifies vertical reinforcement and, for some door widths, horizontal reinforcement at the operator connection. Its instructions warn that failing to reinforce the top section can damage the door (Clopay top-section reinforcement instructions).
An aftermarket strut also does not turn a standard door into a wind-rated one. A wind-rated door uses a tested configuration of sections, reinforcement, tracks and hardware. Wayne Dalton lists horizontal reinforcement as only one possible part of that system, alongside stronger track, heavier hardware and, in some configurations, vertical posts (Wayne Dalton wind-load guidance). If the door has a wind-load label or approval drawing, use the parts and installation pattern specified for that assembly.
The Door Manual Determines Where Struts Are Required
Check the door documentation rather than relying on appearance. A strut may be specified because:
- a trolley-style opener is attached to the top section;
- the door exceeds a stated width;
- one or more sections contain windows;
- the section design requires reinforcement during travel;
- the door is part of an approved wind-load system.
Requirements vary by product. One Amarr aluminum-door manual specifies no general struts for some narrower models, one strut per section for certain wider versions, and at least one top-section strut when a trolley operator is used. Its schedule changes with the door model, width, height and number of sections (Amarr installation manual). That variability is why rules such as “every double door needs three struts” are unreliable.
Visible bowing is a reason to stop and inspect, not proof that adding a bar will repair the door. Stop operating the door if a section is sharply creased, cracked, separating at a stile, rubbing the track or making the door travel crooked. A strut may reinforce a sound section; it does not restore torn metal or a failed panel joint.
Match a Replacement to the Door and Existing Hardware
Start with the door, not a generic parts listing:
- Find the identification label. Record the manufacturer, complete model, serial number, door size and any wind-load or approval information.
- Locate the installation manual or job-specific drawing. Use its strut schedule and attachment diagram. DASMA says its technical data sheets do not replace manufacturer instructions (DASMA technical-data index).
- Measure the door and existing part. Record the actual section width and height, strut length, channel depth, steel gauge if marked, hole pattern, and end- and center-stile positions. Nominal opening size alone is insufficient; see the broader garage-door measurement checklist.
- Check operating clearance. The reinforcement must clear the tracks, rollers, hinges, header and opener hardware throughout travel. Low-headroom installations may use different top-fixture and strut arrangements.
- Match the specified fasteners and attachment points. The cited Amarr manual, for example, shows strut attachment at center and end stiles. That detail applies to the doors covered by the manual; it is not a universal screw pattern.
If the model cannot be identified, have a trained door technician determine the appropriate reinforcement and attachment pattern from the section construction and complete door setup. Choosing a deeper or thicker bar without checking clearance and weight is not automatically safer.
A replacement should also preserve the existing hardware relationships. A strut that fits across the section can still be wrong if its profile interferes with hinges, rollers, top fixtures or the opener attachment. Likewise, convenient holes in a generic strut do not establish safe fastening points in the door section.
Added Strut Weight Can Change Door Balance
A steel strut adds weight to the moving door. Garage-door components are designed to work together under defined conditions, including door weight. DASMA warns that unplanned added weight can unbalance the door and adversely affect the opener (DASMA TDS 176). After reinforcement is installed, door balance and opener operation should be checked under the door and opener manufacturers’ procedures.
Do not compensate for a heavier door by turning torsion springs or moving extension-spring connections yourself. That is stored-energy work for a trained door technician. The same stop rule applies if the door is already heavy, drops, shoots upward, has loose cables or cannot be controlled when disconnected. See how spring adjustment should be handled.
Homeowner Checks Should Stop Short of Disassembly
With the door fully closed and opener power disconnected, an owner can document the label, strut, stiles, fasteners and visible damage without loosening anything. Do not remove or adjust springs, cables, bottom brackets or hardware supporting the spring system. Do not operate the door merely to watch a badly bent section flex.
Consider owner installation only if the exact door manual provides the procedure, the door is undamaged and balanced, and the work does not involve counterbalance hardware. Otherwise, focus on identification: give a technician the model, actual width, section height, opener type, existing strut dimensions, damage photos and wind-load label. Those details help distinguish a like-for-like strut replacement from a panel, balance or code-compliance problem.