
Garage Door Track Alignment: What to Check and When to Stop
Check garage door track alignment without loosening hardware. Identify spacing, joint and support problems—and know when the door needs a technician.
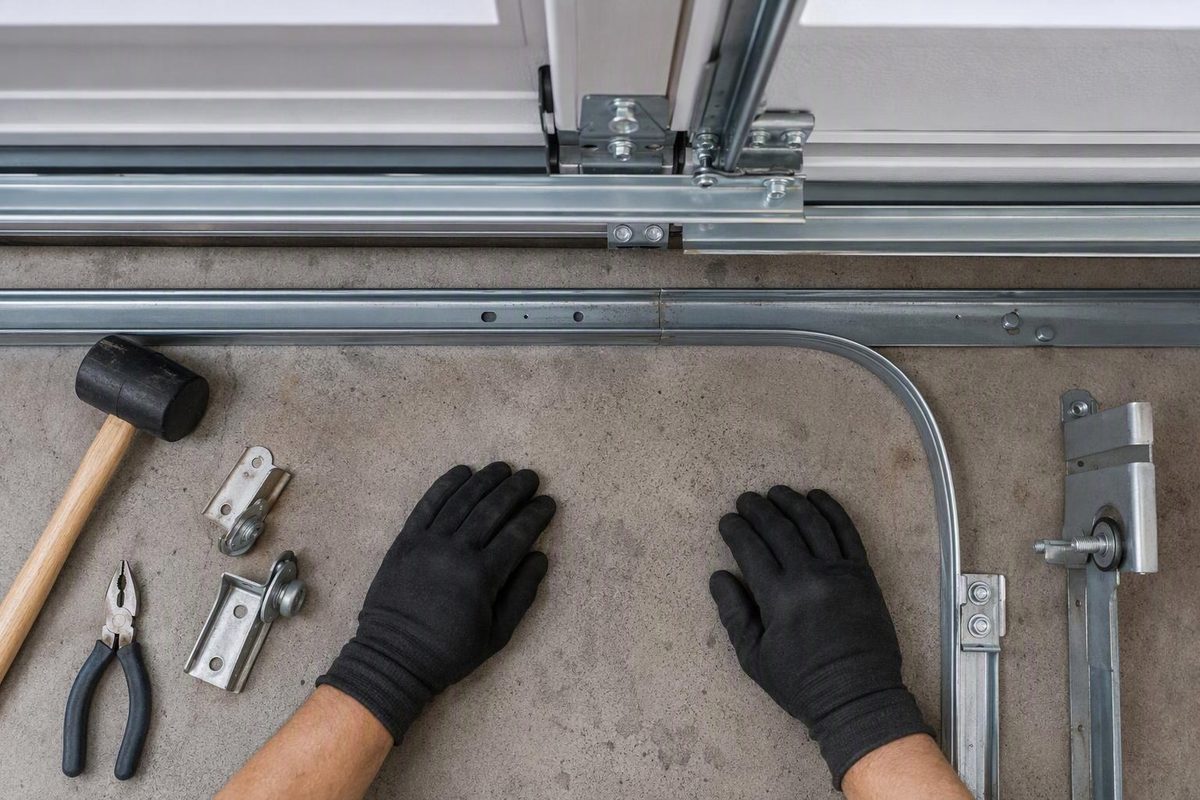
Garage door track alignment is more than making two rails look straight. The tracks must fit the door’s rollers, meet smoothly at their joints, and stay securely supported through the door’s travel. A homeowner can inspect for visible problems; loosening brackets, moving overhead tracks or putting escaped rollers back in is a different job.
This checklist covers residential sectional doors—the type made of hinged panels that roll up and overhead. It is not an adjustment procedure for one-piece or roll-up doors.
1. Decide whether inspection is safe
Stop operating the door if it is crooked, jammed, partly off-track, or has a roller outside its channel. Also stop for a bent track, a pulled-away support, damaged panels, a broken spring, or a frayed or displaced lift cable. Operating a damaged door or supporting track can be hazardous; cable repairs belong to trained technicians. See Clopay’s residential safety instructions and DASMA’s safety guidance.
If the suspect door is open or partly open, keep people away from the opening and do not pull the emergency release, force it closed or try to support it yourself. Weak or broken springs or an unbalanced door can allow an open door to fall rapidly when disconnected from the opener. LiftMaster’s safety instructions
Arrange prompt professional service. If a broken spring is suspected, follow the position-based broken-spring guidance.
For a door already fully closed and straight, prevent powered operation according to the opener manual before inspecting nearby. Keep controls away from other users. Use a flashlight, phone camera and tape measure; keep fingers out of tracks, rollers and panel joints. Do not raise a suspect door just to expose more track.
2. Separate the symptom from the cause
Grinding and uneven movement can indicate misaligned tracks, but they do not prove it. Clopay also identifies spring failure, displaced cables and worn rollers as possible causes of abnormal movement or noise. Clopay’s repair guide
Use what you have already observed—do not run repeated cycles to reproduce a fault:
| Observation | What needs checking |
|---|---|
| Scraping repeatedly near one track joint | Joint continuity, local track damage and roller condition |
| One side rises ahead of the other | Cables and counterbalance system as well as tracks; stop operation |
| Track support appears separated from the wall or ceiling | Attachment and supporting structure, not just rail spacing |
| Door reverses while closing, without obvious mechanical damage | Opener and safety-sensor diagnosis before assuming track misalignment |
For the last symptom, start with the garage-door opener troubleshooting guide, rather than moving track brackets.
3. Inspect spacing, joints and supports
Side tracks and door clearance
Look along each accessible straight section for dents, twists or an abrupt change in position. Compare the clearance between the door section’s side edge and the track at corresponding heights on the left and right. Record the location and measurement; do not push the door sideways or move the rail. Skip any measurement that would require reaching around a roller or cable.
There is no universal adjustment dimension for every door. For example:
- Clopay’s 2014 steel residential instructions specify about 1/2 inch between the door edge and track at installation and warn that forcing the track too tightly against the door causes binding. Clopay manual, Step 11-3
- Wayne Dalton’s standard-lift instructions for models 9100, 9405 and 9605 specify 3/8–5/8 inch between the bottom section and vertical track in the illustrated installation step. Wayne Dalton manual, Step 5
These are model-specific references, not targets to apply to an unidentified door. Neither measurement means the roller should have that much clearance inside its channel.
Curves and track joints
From a safe viewing position, inspect where the upright track meets the curved overhead section. Look for a visible step, twist or damaged channel edge. The sections should form a continuous path for the rollers, as specified in Clopay’s installation instructions, Step 11-6.
Overhead tracks and rear hangers
Look from floor level for sagging rails, displaced hangers, missing fasteners or damaged bracing. Do not loosen anything overhead. Rear hangers support the door’s weight when it is overhead, and sway braces prevent the tracks from spreading and allowing the door to fall. Clopay manual, Steps 11-7 and 11-8
Do not judge alignment by the ceiling alone: low-headroom, high-lift and roof-pitch layouts have different geometry. Use the exact door and track instructions. Clopay’s track-options guide
4. Keep cleaning separate from realignment
On an intact, fully closed door with powered operation disabled, wipe accessible, unoccupied track surfaces with a damp cloth to remove loose dirt. Do not reach around rollers or cables. Do not grease the track channel. Clopay recommends cleaning tracks without lubricating them. Cleaning cannot correct a dent, displaced joint or failed support. Clopay’s lubrication guidance
Avoid the generic “loosen, tap and retighten” approach. Slots in a bracket do not establish that it is safe to move on an assembled door. Never loosen bottom corner brackets, springs, cables or spring-support hardware; these components can be under extreme tension. DASMA safety guidance
Do not increase opener force to push through binding. Chamberlain explicitly warns against using force adjustments to compensate for a sticking door. Chamberlain’s force-adjustment warning
What to have checked before using the door again
Give the technician the door model, photographs, measurements and the location where scraping or hesitation occurred. Ask for a check of track spacing and joints, overhead squareness, rear bracing, mounting structure, rollers, hinges, cables and door balance—not simply a rail adjustment.
After repair, have the technician verify free movement and proper balance, then test the opener’s reversal and photo-eye functions according to its manual before returning the system to normal use. These are separate checks: a door that closes successfully is not necessarily safe. DASMA’s safety and maintenance guide