
Choose Garage Shelving by Usable Space, Not Advertised Capacity
Measure garage shelving for loaded bins, parked vehicles and door travel. Compare shelf types and check load limits before buying or installing.
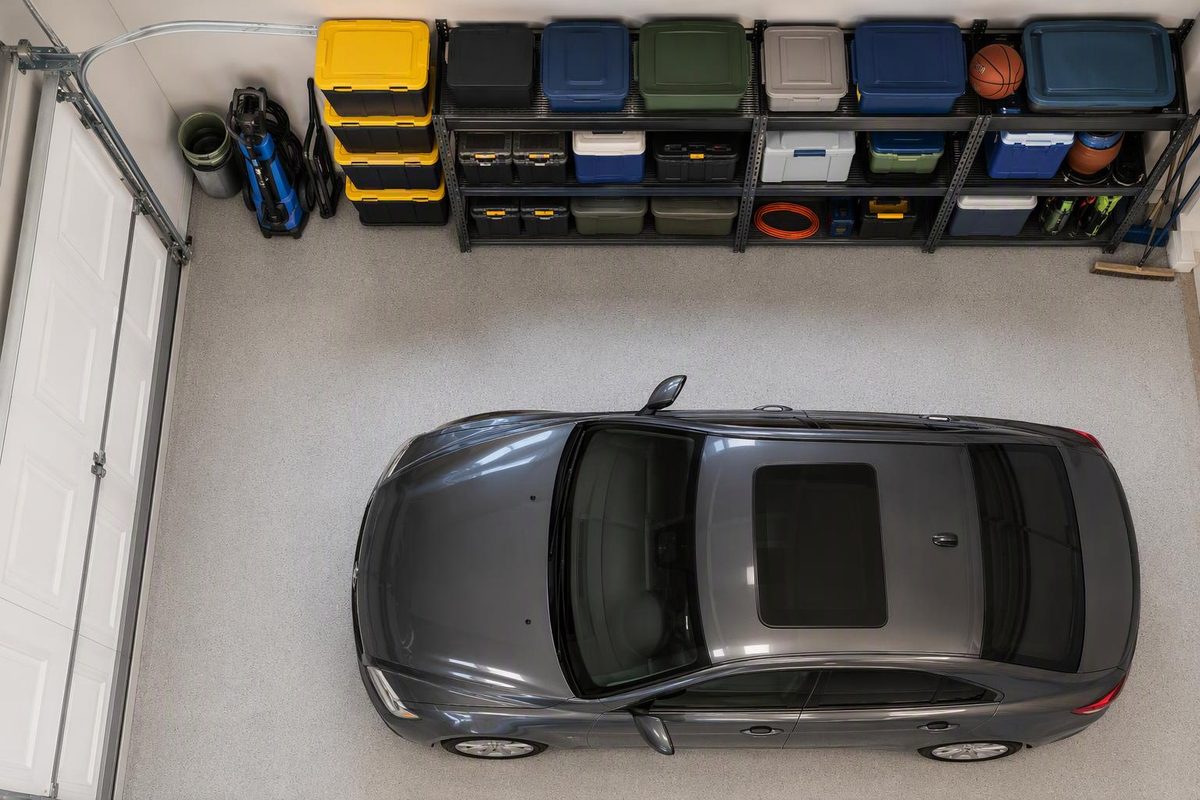
Choose garage shelving in this order: what it must hold, where it can fit, and how it will be supported. A high load rating does not help if your bins cannot pass between the uprights or the rack prevents you from opening a car door.
For bulky, heavy storage, start by comparing stationary floor-standing racks. Consider wall-mounted shelves when keeping the floor clear matters and you can verify the wall construction. Choose wheels only when mobility is useful—and check the separate wheeled load limit.
1. Measure the contents and the parking space
Before shopping, record the following:
- Loaded-item dimensions: Measure totes with lids fitted, including handles and bulging sides. Measure the largest tool case or carton, not an average one.
- Usable shelf width and depth: These are the clear dimensions between supports and the supported storage surface—not necessarily the rack’s advertised outside dimensions.
- Clear height between shelves: Measure from the storage surface to the lowest obstruction above it, including supporting beams. Allow room to lift an item out and grip its handles.
- Available garage space: Include baseboards, wall projections, outlets and any gap required behind the rack.
Tape the proposed footprint onto the floor. Park the vehicle normally, open its doors and hatch, and walk the route from the house door to the vehicle. Try removing your largest tote from the taped area. For elevated shelves, also mock up the front edge at the intended height to check mirrors and hatch clearance. A shelf can fit against the wall yet still leave too little room to use it.
With temporary mock-ups removed and everyone clear, observe a normally functioning garage door through its full opening and closing travel. Do not operate a damaged or binding door for this check. Keep shelving and stored items outside the moving door’s path, away from tracks and cables, and clear of the safety-sensor beam and opener release access. Do not judge clearance from the closed door alone. Chamberlain’s opener manual requires unobstructed door travel and sensor alignment, and directs owners to a trained technician for a binding, sticking or unbalanced door.
For a tote-focused layout, use the more detailed garage bin storage measuring guide.
2. Match the shelf type to the job
| Shelf type | Consider it when | Check before buying |
|---|---|---|
| Stationary steel rack | You have heavy tools, cartons or bulky bins and can spare floor space | Clear dimensions, shelf and whole-unit ratings, floor requirements and support pieces |
| Wire shelving | Your containers have bases that sit securely on the wire surface | Wire spacing, compatible liners, sleeve assembly and feet-versus-wheels ratings |
| Wall-mounted shelving | You need an open floor below storage | Approved wall construction, stud spacing, fasteners and bracket projection |
| Rolling shelving | You need occasional access behind or around the unit | Total wheeled capacity and whether it may be moved while loaded |
| Site-built wood shelving | A standard rack will not fit the space | A design that specifies spans, materials, connections, anchorage and intended loads |
Do not treat all wall surfaces as interchangeable. For example, Fleximounts specifies wood studs or solid concrete for its WR24 wall shelving and says it cannot be mounted to metal walls. That is a model-specific restriction, not a mounting rule for every shelf. Check the manufacturer’s wall requirements, then use the matching installation manual.
If wall shelves are the likely choice, follow the wall-mounted garage shelving fit and mounting checks before drilling.
3. Read the load rating as a set of conditions
Find both the per-shelf limit and the whole-unit limit. Then check the required supports, shelf arrangement, load distribution and mounting method.
Gladiator’s heavy-duty rack manual, which includes model GARS774XEG, specifies a maximum of 2,000 pounds per shelf and 8,000 pounds per unit. It also requires a level surface, evenly distributed weight, the heaviest loads on the bottom shelf, and all tie-channel supports installed correctly. The number alone is not the specification. Gladiator assembly and use requirements.
Wheels can change capacity substantially. The Seville Classics model 18370 manual lists 600 pounds per shelf and 3,000 pounds total on leveling feet, but only 500 pounds total on wheels. It also says not to move the system while loaded. These figures apply to that model; check the manual supplied with yours. Seville Classics model 18370 instructions.
Weigh your heaviest loaded containers rather than guessing. Add the loads planned for each shelf and for the entire rack. An evenly distributed rating does not establish that one concentrated machine load is acceptable; ask the manufacturer if that use is unclear.
4. Install, inspect, then load
Follow the exact assembly sequence and any anchoring or anti-tip requirements. Use the specified help for assembly: Gladiator’s manual calls for two people even though its rack uses tool-free connections.
Stop before loading if the rack rocks, supports are missing, connections are not fully seated, or the required anchorage cannot be completed. For wall shelving, get qualified help if you cannot identify the supporting structure or safely locate concealed wiring and plumbing.
Keep shelves independent of garage-door tracks, hangers and opener supports. Never relocate spring brackets, cables or their supports to make room for shelves. Counterbalance components can be under extreme tension; changes belong with a qualified garage-door technician. DASMA counterbalance-system warnings.
Load heavier items low and lighter items higher. Do not climb the rack. Leave frequently used containers where you can remove them without reaching over another load.
Your final buying specification should state: outside dimensions, clear shelf dimensions, adjustable spacing, per-shelf and total capacity, feet or wheels, mounting requirements, and all necessary accessories. Compare that specification—not just “heavy duty”—across the shelves on your shortlist.