
Choose a Garage Door Opener by Door Fit, Not Just Horsepower
Check door condition, height, rail length, wall-mount compatibility and safety requirements before buying or replacing a garage door opener.
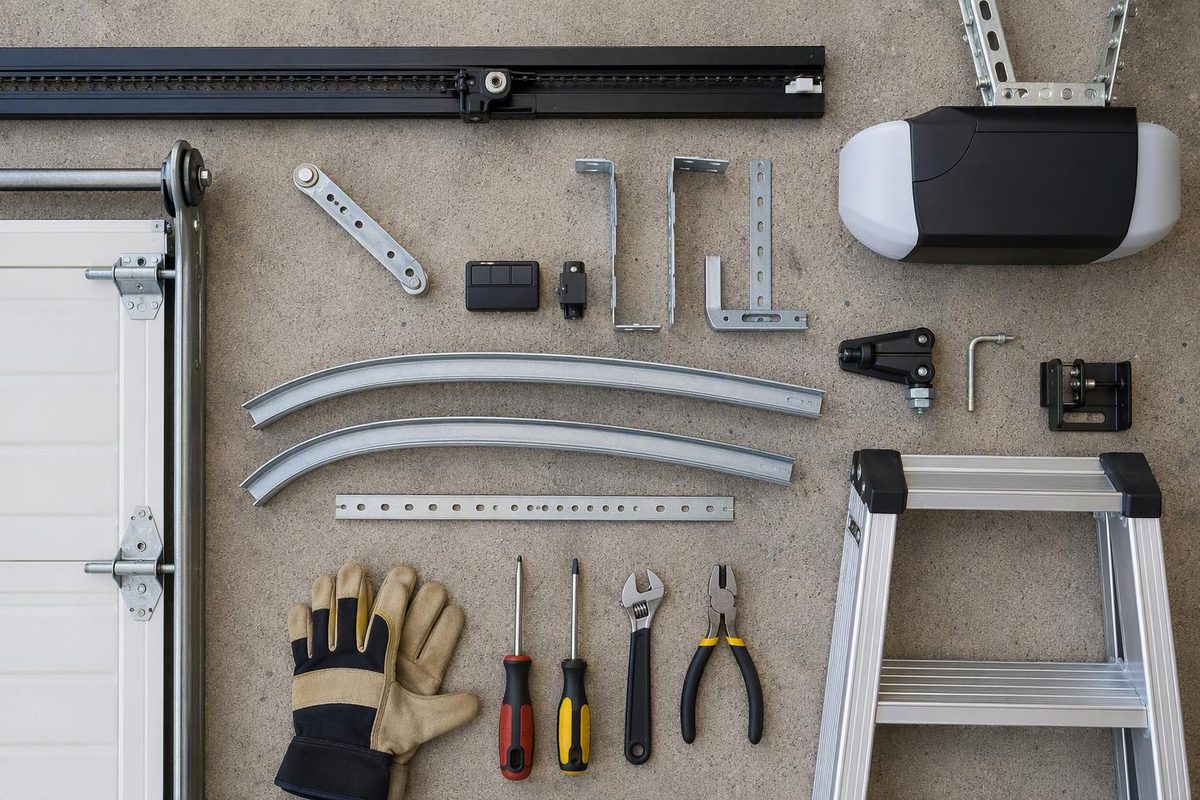
Choose a garage door opener that matches a healthy door and its hardware—not one powerful enough to force a troublesome door to move. Start with door condition, then check height, installation space and compatibility. Noise, battery backup and app features come after those checks.
If your immediate problem is a door that will not open or close, start with the safe opener troubleshooting guide before buying a replacement.
1. Rule out a door problem first
The opener moves the door; the springs provide its counterbalance. A door that binds, sticks or is out of balance needs door-system service, not a larger motor. Both CPSC guidance and the LiftMaster 98022 manual direct owners to a professional for those conditions.
Before operating or testing the system, look for a crooked door, damaged track, loose or broken cable, or an obvious spring break. Stop if you see damage. Do not loosen spring, cable, drum or bottom-bracket hardware; these components can carry dangerous stored energy.
Do not pull the emergency release on an open or partly open suspect door. If you need to check manual movement, first consult the exact opener manual, begin with the door fully closed, and proceed only if there is no visible damage or reason to suspect a spring or cable failure. Keep people and obstructions clear of the doorway. Stop if the door is unexpectedly heavy or difficult to control. See the emergency-release and reconnection guide for the full stop points.
2. Record the door and installation measurements
A useful buying record includes:
| Record | Why it matters |
|---|---|
| Door type, width, height, thickness, material and model | Establishes the door the opener must operate |
| Door weight from manufacturer records or a technician | Lets you check the opener’s stated capacity without guessing from width |
| Headroom above the opening | Helps establish space for the door hardware and opener |
| Clear depth into the garage | Helps establish whether a ceiling-mounted rail and motor will fit |
| Spring system and track layout | Determines whether a wall-mounted opener is an option |
| Outlet location and obstructions | Identifies electrical work and conflicts with beams, lights or storage |
Genie’s selection guidance calls out door size, construction, weight, clearance and nearby living spaces.
The opener rail is not the door track. A ceiling-mounted opener’s rail carries its trolley; the tracks at the sides guide the door’s rollers. Check both systems’ space requirements against the proposed model’s installation drawing. Use the garage-door measurement guide if you still need to establish opening and clearance dimensions.
Door height also affects travel. As of October 2026, for example, the Genie 7055D is specified for residential sectional doors up to 7 feet high and 500 pounds; an 8-foot door requires an extension kit. Do not assume an extension fits because it is the same brand: Genie’s extension-kit guide matches kits to particular models and rail constructions.
3. Choose the layout, then the features
For a ceiling-mounted opener, compare compatible belt and chain models using their installed dimensions and door ratings. If living space adjoins the garage, prioritize noise: Genie specifically identifies its 7055D belt-and-DC-motor combination as suitable near living spaces. The belt-versus-chain comparison covers that decision in more detail.
A wall-mounted, or jackshaft, opener avoids a central ceiling rail—but it is not a universal low-headroom solution. The LiftMaster 98022 manual restricts it to sectional doors with torsion assemblies, excludes extension springs and low-headroom tracks with outside-pickup drums, and requires installation by trained garage-door technicians. Check the jackshaft fit guide before treating ceiling space as the deciding factor.
Once fit is confirmed, compare battery backup, lighting, included remotes, keypad compatibility and app requirements. Verify whether the battery is included rather than merely supported, and check Wi-Fi requirements at the intended mounting position. For model comparisons after these checks, see the opener picks by garage fit.
4. Price the complete replacement
Do not budget only for the motor head. Ask whether the price includes the correct rail or extension, mounting hardware, controls, safety sensors, door reinforcement if required, electrical work and final testing.
Do not assume existing components can stay because the new opener looks similar. Chamberlain Group recommends replacing the entire opener, including mounting hardware, rails, wired controls and wireless remotes. Require explicit manufacturer compatibility before agreeing to reuse parts.
5. Make safety testing part of completion
Pairing a remote is not the final installation check. Require the model’s travel setup, contact-reversal test and photo-eye test before normal use. The 98022 manual treats contact reversal and sensor protection as separate tests and specifies a 2×4 laid flat for the contact-reversal test.
CPSC recommends inspection every 30 days and testing reversal with a 2×4 in the door’s path. If either safety test fails, stop automatic operation until the system is correctly adjusted, repaired or replaced. Follow the exact manual’s test procedure; never use a person as the obstruction or bypass the sensors. Keep the manual and a record of the installed model, rail configuration and compatible accessories for future maintenance.